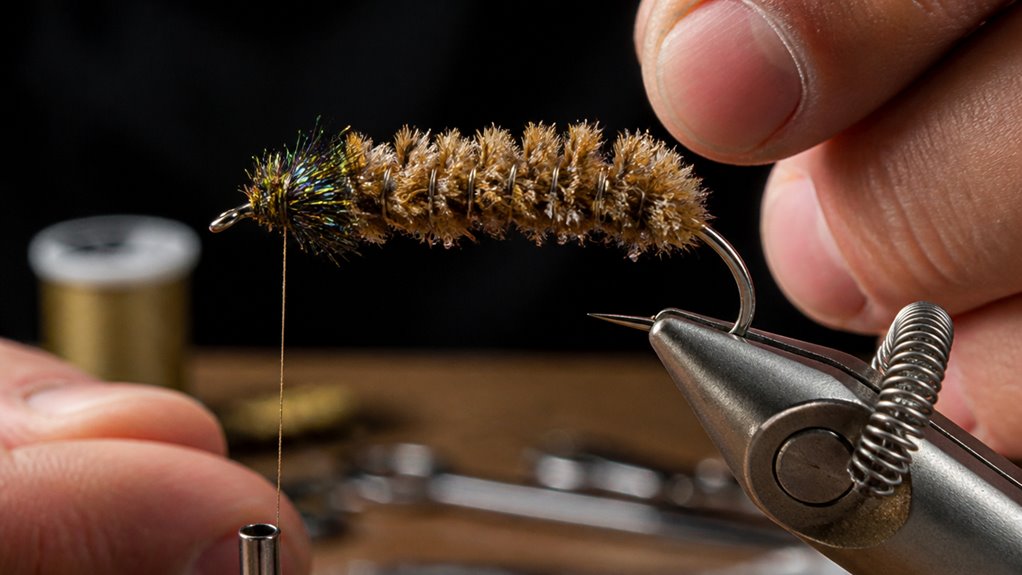
How to Tie the Mop Fly: Key Differences Explained
To tie a mop fly, start by selecting an 8–18 hook with a snug 3/16-inch tungsten bead for balanced weight.
Trim mop fibers to twice the shank length and lash them securely with loose then tight wraps through the fibers to prevent rotation.
Build a firm thread base behind the bead, then craft a compact dubbed thorax using fine dubbing materials.
Finish with tight wraps and a drop of adhesive to assure durability and neat profile.
Keep going for techniques that enhance longevity and precision.
Key Takeaways
- Select a hook size 8–18 and fit a 3/16 inch tungsten bead snugly on the eye for balanced weight and swimming action.
- Prepare mop material by trimming to twice the hook shank length, exposing the fiber core, and lashing it firmly to prevent rotation.
- Build a firm thread base behind the bead with consistent tension, lashing mop fibers through the thread to enhance grip and durability.
- Shape a compact thorax and collar with fine dubbing materials, wrapping tightly behind the bead to maintain profile and avoid bulk.
- Secure all wraps with adhesive like cyanoacrylate and a precise whip finish, testing attachment strength to ensure durability during fishing.
Understand the Mop Fly: Hook and Bead Selection
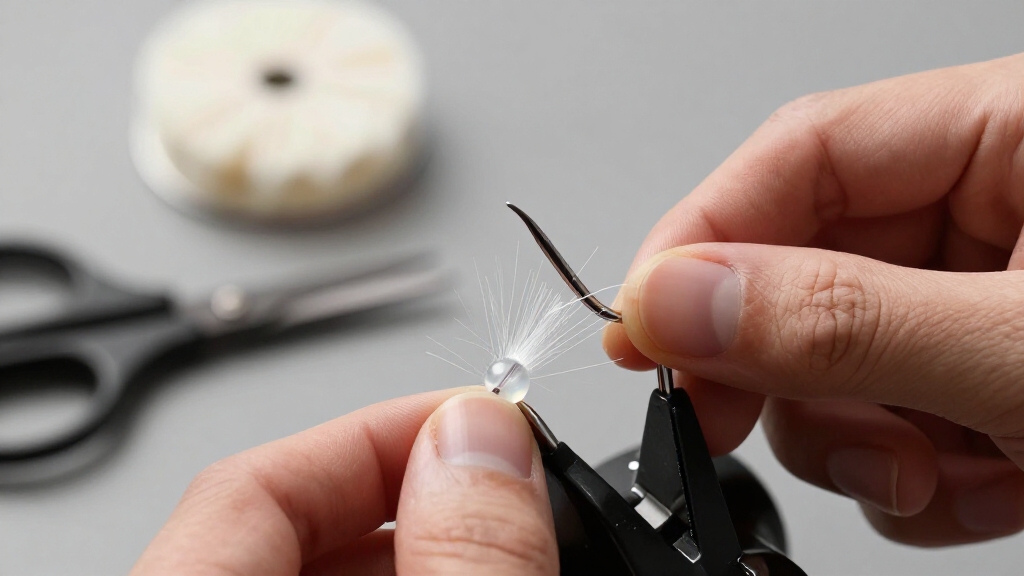
Selecting the right hook and bead is crucial when tying the Mop Fly. It directly influences the fly’s size, weight, and presentation.
Choose hook sizes ranging from 8 to 18 based on your target species and local conditions. Scud hooks, jig hooks, and nymph hooks offer different shank shapes. Opt for those that best match your intended profile.
For weighting and balance, pick tungsten or slotted tungsten beads in 3/16 inch or 3.8 mm sizes. The bead’s material and color, such as silver, copper, or black nickel, affect both attraction and weight distribution.
Make certain the bead fits snugly on the hook eye without impeding thread wraps. This setup provides a compact, weighted front that enhances the Mop Fly’s natural swimming motion. It also improves casting performance in varied water flows.
Choosing the appropriate hook wire diameter balances durability and fall rate for optimal fly presentation.
Trim and Attach Mop Material Securely
To get started, trim the mop material to about one inch—aim for roughly twice the length of the hook shank. You’ll want to make sure the fiber core is exposed or stripped; this helps with grip.
Once you have your mop trimmed, position it to form a compact body segment. Start by securing it with some loose initial wraps. This way, you can adjust it if needed, but be sure to tighten it firmly to prevent any rotation later on.
As you wrap the thread through the fibers, think about adding some adhesive. This step can really boost durability and give you a clean, streamlined profile. It’s all about making your work last longer and look great! Applying secure knots during wrapping ensures the mop material stays firmly attached and resists wear.
Mop Material Preparation
When preparing the mop material, you’ll want to trim it to about one inch or roughly twice the length of the hook shank to guarantee proper proportion.
Next, carefully expose or strip a small section of the mop fiber core to improve tying security and create a firm anchor point.
Position the mop strip so it forms a short tail or body segment rather than an extended streamer, aligning the fibers evenly.
Avoid bunching or uneven edges by trimming any stray fibers before attaching.
Depending on your method, you may thread the mop material onto the hook shank or prepare it for direct lashing with thread.
Ensuring even fiber distribution and precise trimming here sets you up for a secure, compact mop body in the next steps.
Proper maintenance of your gear, including cleaning and drying, helps ensure durability and performance during use, similar to how regular wader care extends their lifespan.
Secure Attachment Techniques
Secure the mop material firmly by first making a few loose wraps of thread around the fibers. Then gradually tighten the thread to lock the material in place.
Position the mop section along the hook shank just behind the bead, guaranteeing the fibers form a compact body segment. Wrap the thread through the mop fibers to maximize grip and prevent rotation.
Apply a small drop of adhesive underneath or over the thread wraps to enhance durability. Once secure, pull firmly on the thread to test for slippage. If the mop shifts, add more tight wraps.
Trim excess fibers cleanly to maintain a neat profile. This method guarantees the mop body remains stable throughout use, resisting loosening and maintaining the fly’s intended shape and function.
For added protection during fishing trips, consider storing your finished mop flies in a box with high-density foam to keep hooks secure and maintain fly integrity.
Build Thread Base to Secure the Mop Fly
Alright, let’s kick things off by getting that thread in place. You’ll want to start just behind the bead and create a solid base along the hook shank. This is crucial for anchoring your mop material securely.
Now, as you wrap the thread, keep it tight and controlled. This will help prevent any slippage, which we definitely want to avoid. And hey, if you’re feeling extra cautious, consider adding a thin layer of adhesive. It’s a simple step that can really boost durability. Using a ceramic-tipped bobbin can reduce friction and help maintain smooth thread tension throughout the process.
Thread Placement Techniques
Thread placement always plays a critical role in building a strong foundation for the Mop Fly.
Begin by anchoring your thread just behind the bead, applying firm, even wraps along the hook shank to create a stable base.
Maintain consistent tension to avoid gaps, ensuring the thread lies flat without overlapping excessively.
Position your wraps to cover enough shank length for secure mop material attachment but leave room near the bend if preferred.
When lashing the mop fibers, use loose initial wraps to align the fibers, then tighten gradually to lock them firmly in place.
Wrap through the fibers rather than over them to prevent slippage.
Finally, form a neat thorax collar near the bead with precise wraps, concentrating thread density to reinforce the fly’s front section.
Using step-by-step tutorial formats can help simplify these tying techniques and improve skill progression.
Adhesive Use Benefits
Applying adhesive to the hook shank before building your thread base markedly enhances the durability and stability of the Mop Fly. This step prevents slippage of the mop material and thread, ensuring a secure foundation for subsequent tying stages.
Use a thin layer of cyanoacrylate glue for quick setting and strong bonding. Once applied, immediately start wrapping thread behind the bead to lock the adhesive in place.
| Benefit | Explanation |
|---|---|
| Increased Grip | Adhesive fills micro-grooves on shank |
| Thread Stability | Prevents thread from sliding under tension |
| Enhanced Durability | Improves fly lifespan with repeated casts |
Incorporating adhesive at this stage improves overall fly integrity and reduces tie failures during active fishing. For best results, consider using tools with corrosion-resistant stainless steel construction to maintain precision and longevity during fly tying.
Build the Mop Fly Thorax and Collar With Dubbing
Begin by selecting a fine dubbing material such as peacock, black, or squirrel to create the thorax and collar.
Start your thread wraps just behind the bead.
Then apply a thin, even layer of dubbing by twisting a small amount onto the thread.
Wrap the dubbed thread forward, positioning the thorax between the bead and mop body.
Use tight, controlled turns to build a tapered profile.
Ensure the dubbing fibers don’t overwhelm the mop fibers but fill gaps for a fuller collar effect.
To enhance texture, you may pick out some dubbing fibers lightly once wrapped.
Maintain a compact shape to preserve the fly’s balance and durability.
Avoid excessive bulk near the bead, as this can disrupt hook penetration and overall fly performance.
For best results, keep your materials organized with airtight storage to maintain dubbing quality and ease of access.
Finish the Mop Fly With Strong Thread Wraps and Glue
After shaping the thorax and collar with dubbing, secure the materials firmly with tight, controlled thread wraps just behind the bead.
Use multiple wraps to lock the dubbing in place, maintaining even tension to avoid crushing the fibers.
Keep the wraps compact and neat to preserve the fly’s profile.
Once secured, apply a small drop of cyanoacrylate glue or head cement directly onto the thread wraps.
Use a fine applicator or a pin to avoid excess glue spreading onto the dubbing.
Allow the adhesive to cure briefly, enhancing the durability of the collar and preventing unraveling during fishing.
Finish with a precise whip finish or several tight wraps behind the bead, ensuring all components remain securely bound for a strong, durable Mop Fly.
For added security, consider using thread wraps that maintain even tension to prevent slippage and ensure durability.
Quick Tips for Tying Durable, Compact Mop Flies
Although tying a Mop Fly is straightforward, ensuring durability and compactness requires deliberate thread tension and material control.
Start by selecting an appropriate hook size (8–18) and bead (3/16 inch tungsten, for example) to balance weight and profile.
Build a firm thread base behind the bead, applying super glue sparingly to the shank for enhanced adhesion.
Prepare mop fibers by trimming to roughly twice the hook shank length and exposing the fiber core to improve locking.
Lash the mop material with loose initial wraps, then tighten with multiple turns, wrapping through fibers to prevent rotation.
Trim excess fibers cleanly to maintain compactness.
Finish with a small dubbing thorax and secure with a whip finish behind the bead, adding adhesive for maximum durability.
Using monofilament wraps to reinforce key stress points can further enhance the fly’s longevity and maintain its shape during use.
Frequently Asked Questions
What Types of Fish Respond Best to the Mop Fly?
You’ll find the Mop Fly effective for trout species, especially brown and rainbow trout, as they respond well to its nymph-like profile.
It also attracts smallmouth bass and panfish due to its compact, weighted design that mimics aquatic larvae.
When fishing in streams or rivers, targeting trout is your best bet, but don’t overlook bass in slower waters.
The fly’s versatility across sizes and weights suits various freshwater species feeding on subsurface insects.
Can I Use Synthetic Mop Material Instead of Natural Fibers?
Yes, you can use synthetic mop material instead of natural fibers.
Synthetic fibers often offer increased durability and consistent texture, which helps maintain the fly’s profile longer. They also dry faster and resist water absorption better than natural fibers.
However, you should select synthetic strands that mimic the mop’s natural movement and bulk to guarantee the fly retains its intended action and attractiveness underwater during fishing.
How Do Water Conditions Affect the Mop Fly’s Effectiveness?
You might be surprised how water conditions can make or break the Mop Fly’s success.
In clear, slow water, its subtle profile and natural mop fibers work wonders, enticing wary fish.
When currents pick up or water gets murky, you’ll want heavier tungsten beads and darker bead colors to improve visibility and sink rate.
Adjust your thread and dubbing colors too, so the fly matches the environment and maintains maximum effectiveness.
What Is the Best Fishing Technique With a Mop Fly?
You’ll have the most success using a slow, controlled drift or dead drift with the mop fly, allowing it to mimic natural nymph movement.
Cast upstream or across current, then mend your line to reduce drag. Use subtle twitches or pauses to impart slight movement, enhancing lifelike appeal.
Focus on slower water or near structure where fish hold. A light strike detection setup complements this technique perfectly.
How Long Does a Typical Mop Fly Last During Fishing?
A typical mop fly lasts several fishing sessions before needing replacement, often 3 to 5 outings depending on use intensity.
You’ll find durability improves markedly when you apply adhesive under and over the mop material and use tight, secure thread wraps.
Regularly check for fiber fraying or bead loosening.
With proper finishing, including whip finish and glue, your mop fly resists rotation and wear, extending its effective lifespan during your fishing trips.
Master the Art of Tying a Mop Fly
Tying the mop fly is like crafting a precision instrument. Every thread wrap and bead placement matters.
By selecting the right hook and bead, securely attaching mop material, and building a robust thorax with dubbing, you ensure durability and effectiveness.
Finish with tight wraps and glue to lock everything in place. Follow these steps meticulously, and you’ll create a compact, resilient mop fly that performs consistently. It will be ready to fool even the wariest trout.