How to Clean Fly Fishing Waders: 7 Steps to Follow
After an exhilarating day on the water, where you immersed yourself in the art of fly fishing, it’s time to give your waders clean and well-deserved attention. Keeping your fly fishing waders clean is part of their maintenance routine, so they’re ready to go for your next trip.
Cleaning your fly fishing waders requires submerging them with water and detergent. Then you need to scrub away dirt to rinse your fishing waders thoroughly.
We will guide you through the step-by-step process of cleaning your fly fishing waders. From removing dirt and grime to eliminating that unpleasant odor, we’ve got all the expert tips and tricks you need.
How to Clean Fly Fishing Waders: Step-By-Step Guide
These are the quick steps you need to take to clean your fly fishing waders:
- Step 1: Remove Loose Dirt and Debris
- Step 2: Fill a Basin or Bathtub With Warm Water
- Step 3: Add Mild Detergent
- Step 4: Submerge the Waders
- Step 5: Scrub Lightly
- Step 6: Rinse Thoroughly
- Step 7: Dry the Waders
Now let’s take a closer look at the steps involved.
Step 1: Remove Loose Dirt and Debris
Before cleaning, you need to brush off any loose dirt and debris from the exterior of your fishing waders using a soft cloth or brush. This step is crucial to ensure that the cleaning process is effective and thorough.
Gently brush or wipe the surface, paying attention to any areas where dirt may be more concentrated, such as the knees or boots. Take your time and ensure that all loose dirt and debris are removed.
Once this step is completed, you can move on to the next stage of cleaning your fly fishing waders.
Step 2: Fill a Basin or Bathtub With Warm Water
Now, fill up a basin or bathtub with warm water. Make sure your bathtub or basin’s discharge line is blocked. The warm water serves a dual purpose, it helps to dissolve any stuck dirt or grime on the waders’ exterior and also provides a soothing environment for the cleaning process.
But, it’s important to ensure that the temperature of the water isn’t too hot, as this can cause damage to the waders.
Step 3: Add Mild Detergent
Pour some mild detergent into your basin or bathtub and let it sit for a minute. It’s important to use a detergent that’s specifically formulated for wader care.
Because using harsh laundry detergents or soaps can cause damage to the material of your fly fishing waders. These detergents are designed to effectively clean your waders while still being gentle enough not to deteriorate the material.
Once you’ve added the mild detergent to the warm water, make sure to mix it well to create a soapy solution. This’ll help to break down any dirt, grime, or odors that may have accumulated on your waders.
Step 4: Submerge the Waders
Once you’ve added a mild detergent, you need to submerge the waders completely in warm water.
By fully immersing them in the basin or bathtub, you allow the detergent to penetrate every nook and cranny, effectively removing dirt, grime, and odors from during your fishing adventures.
Remember to gently agitate the water to encourage the detergent to do its job, but be careful not to be too rough and damage the waders.
Take your time with this step, ensuring that every inch of the waders is submerged and receiving the cleaning treatment it deserves. After successfully submerging the waders, you can proceed to the next step.
Step 5: Scrub Lightly
Using a soft cloth or brush, gently polish the exterior of your waders to ensure a gentle yet effective cleaning. The soft cloth or brush will help remove any dirt, debris, or stains that may have accumulated on the surface.
As you scrub lightly, avoid using an abrasive brush or harsh cloth, as this can cause damage and deterioration. Take your time and pay attention to the areas that require more attention, such as the knees and boots.
By giving your waders a thorough scrub, you’ll not only keep them looking their best but also ensure they continue to provide you with the comfort and protection you need on your fishing adventures.
Step 6: Rinse Thoroughly
Immerse your waders in clean, cold water to ensure a thorough rinse and remove any remaining soap or detergent from their surface. As you rinse, drain the soapy water and replace it with fresh water to eliminate any residue effectively.
Gently agitate the waders, using your hands or a soft cloth, to dislodge any stubborn dirt or grime. Pay close attention to the seams and crevices, as these areas tend to accumulate debris.
Continue rinsing until all the soap or detergent is completely washed away. This meticulous process will help keep your waders clean, odor-free, and ready for your next fishing adventure.
Step 7: Dry the Waders
Hang up your waders securely to let them dry completely, ensuring they’re as dry as a bone inside and out before storing them away.
Allow any water trapped inside the waders to drain out by hanging them upside down. Also, make sure to dry the exterior of the waders thoroughly to prevent any moisture from seeping through.
To ensure your waders are completely dry, consider using a drying rack or hangers specifically designed for waders. These can help maintain their shape and allow for proper air circulation. Avoid drying them near a direct heat source, as this can damage the material.
How Do You Take Care of Fly Fishing Waders?
When taking care of your fly fishing waders, there are several key points to keep in mind. Here’s what you need to check:
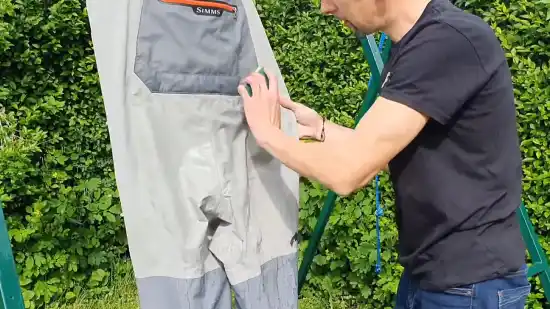
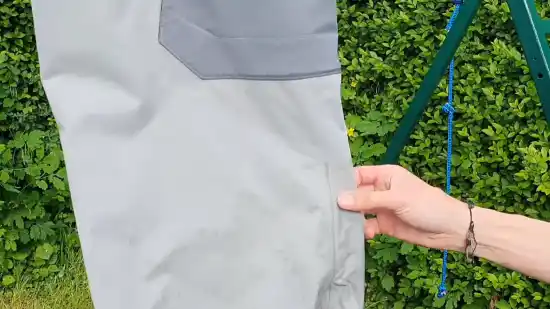
1. Check for Wear and Tear
Take a moment to carefully inspect your waders for any signs of wear and tear, paying close attention to the seams, zippers, and attachment points. This will ensure the longevity and reliability of your gear during your next fly-fishing adventure.
Start by examining the seams, checking for any loose threads or fraying. These areas are prone to wear and can compromise the waterproofing of your waders.
Next, inspect the zippers, ensuring they glide smoothly and without any resistance. Look for any signs of damage or corrosion, as this can lead to leaks.
Examine the attachment points, such as the straps and buckles, making sure they are secure and intact.
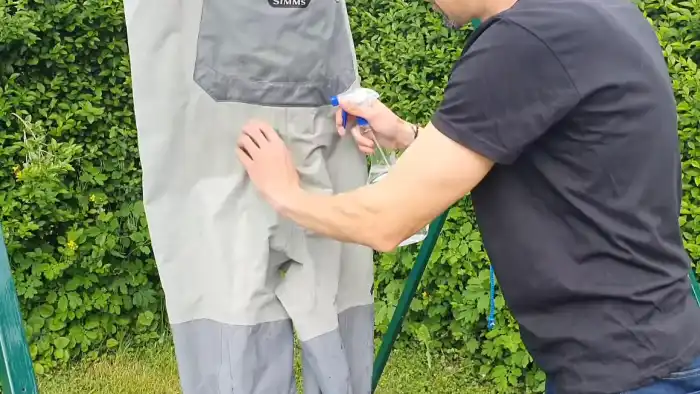
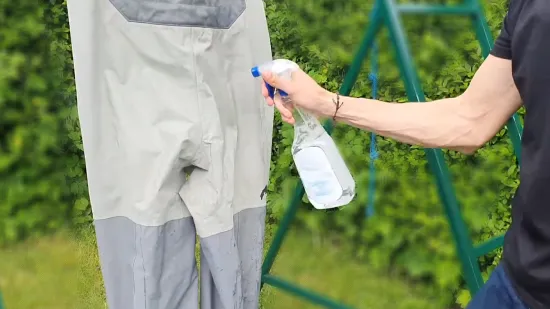
2. Apply DWR Coating
To keep your gear in top shape, make sure you’ve got a good coat of DWR on your waders. It’s like giving them an invisible raincoat that keeps you dry no matter how wet it gets out there.
Applying a durable water-repellent (DWR) coating is essential for maintaining the water-resistant properties of your waders. Over time, the original DWR coating may wear off due to exposure to dirt, oils, and frequent use.
To apply the DWR coating, clean your waders thoroughly with mild detergent and warm water. Rinse them well and make sure they are completely dry before proceeding.
Lay your waders flat and spray an even layer of DWR coating on the outer fabric. Be sure to cover all areas, including the seams.
Allow the coating to completely dry before using your waders again. Regularly applying the DWR coating will ensure that your waders stay water-resistant and perform optimally on your fly fishing adventures.
3. Store Properly
Make sure you maintain the longevity of your gear by storing your waders properly. After a day of fly fishing, storing your waders in a dry and cool place is important.
Moisture can cause mold and mildew to develop, so keep them away from any damp areas. Direct sunlight and heat sources can also damage the material, so find a spot that offers shade and cool temperatures.
Whether you choose to store them flat or hanging, make sure there are no folds or creases in the fabric. Folds can weaken the material over time and lead to leaks.
Take the time to care for your waders properly and they’ll continue to serve you well on your fishing adventures.
4. Trim Toenails
To ensure the longevity of your fly fishing waders, proper storage is crucial. However, there is another essential step you must take to protect them from unnecessary damage, trim your toenails.
Neglecting this small but significant task can lead to holes and tears inside your waders, compromising their integrity.
By maintaining well-trimmed toenails, you prevent them from snagging on the fabric, particularly the delicate booties. Additionally, keeping the wader area clean is vital to avoid the accumulation of mud, gravel, and sand, which can wear down the material over time.
5. Repair
As you mend the small punctures or tears on your trusty angler’s armor, the waders regain their strength and resilience, ready to embark on countless more adventures.
Repairing your fly fishing waders is a crucial step in maintaining their performance and durability. When you notice any damage, it’s important to address it promptly to prevent further deterioration.
Begin by using a sealant or purchased patches specifically designed for wader repairs. Carefully follow the manufacturer’s instructions to ensure the best results.
Start by cleaning and drying the affected area thoroughly. Apply the sealant or patch, covering the entire damaged area. Press firmly to ensure proper adhesion.
Allow the repair to dry completely before using your waders again. By taking the time to repair any punctures or tears, you can prolong the lifespan of your fly fishing waders and continue enjoying your angling adventures with confidence.
How do you get the smell out of fishing waders?
To effectively get rid of unpleasant smells from your fishing waders, there are a few approaches you can take. One method is to create a solution using an odor-eliminator product.
Simply add the recommended amount of odor eliminator to about 5 gallons of water in a basin or bathtub. Submerge your waders in the solution and let them soak for approximately 5 minutes.
After soaking, gently wring out the water without rinsing. This allows the odor eliminator to work on neutralizing the odor. It’s important to then air dry your waders thoroughly before using or storing them.
If you prefer a natural solution, you can try using a mixture of equal parts water and white vinegar. Submerge your waders in this vinegar solution and let them soak for several hours or overnight.
Vinegar has natural odor-neutralizing properties. After soaking, remove the waders from the solution and allow them to air dry completely.
Regardless of the method you choose, it’s important to ensure your waders are completely dry before using or storing them. Properly drying them will help prevent any residual smells from returning.
How long do fly fishing waders last?
If you don’t use your fishing waders often, they can last for several years before the material and sealed seams degrade and cause leaks. But, it’s important to note that the lifespan of your fly fishing waders can vary depending on factors such as the quality of the waders, how well you take care of them, and the conditions in which they are used.
Generally, if you use your waders less than 10 days a year, you can expect them to last quite a while. You can extend their lifespan even further with proper care, such as rinsing them with fresh water after each use and allowing them to dry thoroughly before storing them.
Regularly inspecting your waders for signs of wear and promptly repairing any small holes or damaged seams can also help to prolong their life.
How often should you clean fishing waders?
The frequency of cleaning your waders majorly depends on the usage and environmental conditions.
For instance, if you are an avid angler and frequently use your waders in muddy or dirty water, cleaning them every two or three trips is imperative.
On the other hand, if you use waders in clearer water or less frequently, you can extend the cleaning intervals.
However, it is crucial to inspect your waders after every use and clean them thoroughly inside out if you notice any signs of sweat accumulation or dirt on them.
Sustaining Your Waders, Sustaining Your Adventures
Cleaning and maintaining your fly fishing waders is an essential part of their care routine. By following the step-by-step cleaning process outlined in this guide, you can effectively remove dirt, grime, and odors from your waders, ensuring they remain in prime condition for your next angling trips.
Remember to take extra care with the materials and avoid using harsh detergents or abrasive brushes that can cause damage.
Maintaining proper wader care practices such as regular inspections, applying DWR coating, storing them properly, trimming your toenails, and promptly repairing any damages will help extend the lifespan of your waders.
So, take the time to clean and care for your waders, and let the adventures continue.