How to Repair Fishing Net: Simple Steps for Lasting Fixes
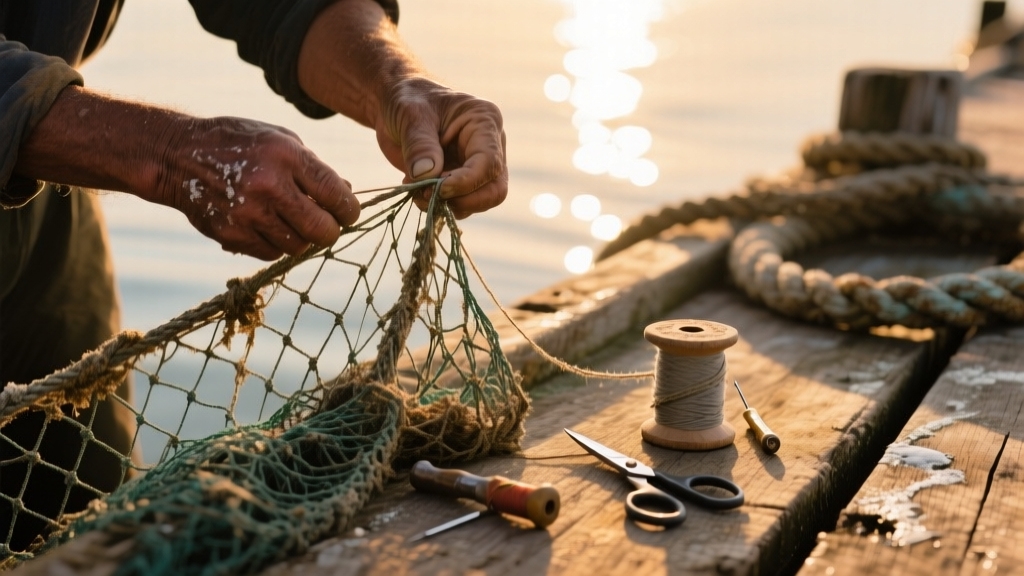
To repair your fishing net, first lay it flat, square the meshes, and inspect for holes or frayed knots. Trim damaged areas into 45° shapes, removing loose threads.
Use durable nylon twine and a netting needle to weave patches slightly smaller than holes, securing edges with consistent mesh knots. Reinforce by tightly wrapping edges and testing knot tension.
Following these precise steps restores net strength and function. Explore further to master detailed patch techniques and maintenance tips.
Key Takeaways
- Lay the net flat, square the meshes, and inspect thoroughly for holes, tears, and frayed edges before repair.
- Trim damaged areas into a 45° rectangular shape removing loose threads for easier patch fitting.
- Use matching durable twine and a netting needle to weave patches with consistent mesh size and tension.
- Attach patches slightly smaller than holes, weaving around the perimeter with secure, uniform mesh knots.
- Reinforce edges by wrapping twine tightly and tying strong knots to maintain mesh shape and durability.
Preparing Your Fishing Net for Repair
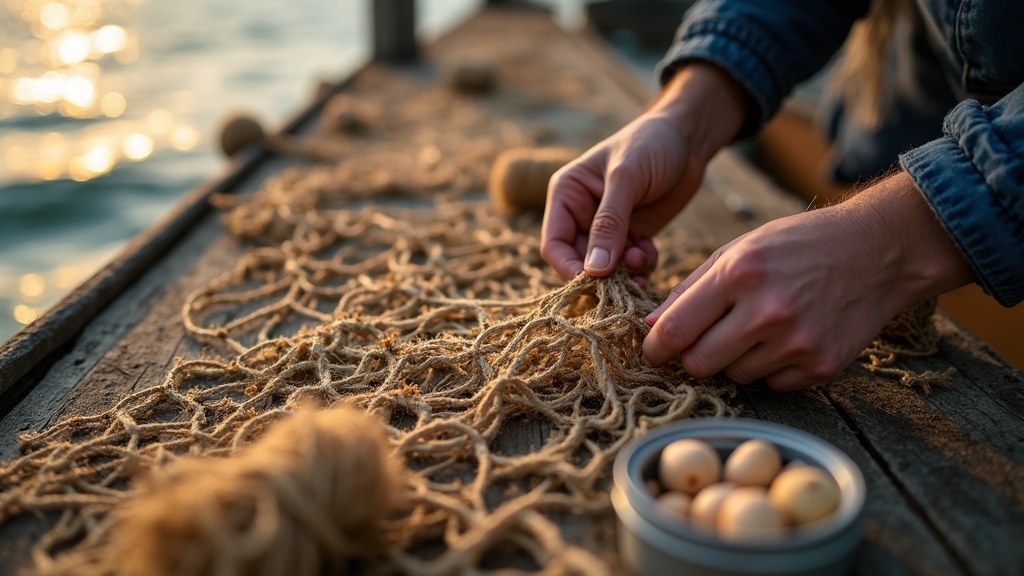
Before you begin repairing your fishing net, lay it flat on a clean surface to prevent tangling and allow thorough inspection. This step ensures maximum visibility and structural integrity during repair.
Start by spreading your fishing net flat on a clean surface to avoid tangles and inspect carefully.
Pull the meshes square to restore their original shape and tension, ensuring accurate repair.
Align knots uniformly, matching the original construction direction to maintain structural integrity.
Carefully identify all damaged areas, including frayed edges beyond visible holes.
Trim the hole into a rough rectangular shape angled approximately 45 degrees to the mesh to facilitate uniform mending.
Remove any damaged or loose threads around the hole edges to create clean, stable boundaries for repair.
Prepare by selectively removing alternate bars from knots around the hole, optimizing the net’s readiness for patch insertion and ensuring a strong, lasting mend. Count the meshes around the hole to determine the size of the patch needed, ensuring proper coverage and overlap count the meshes.
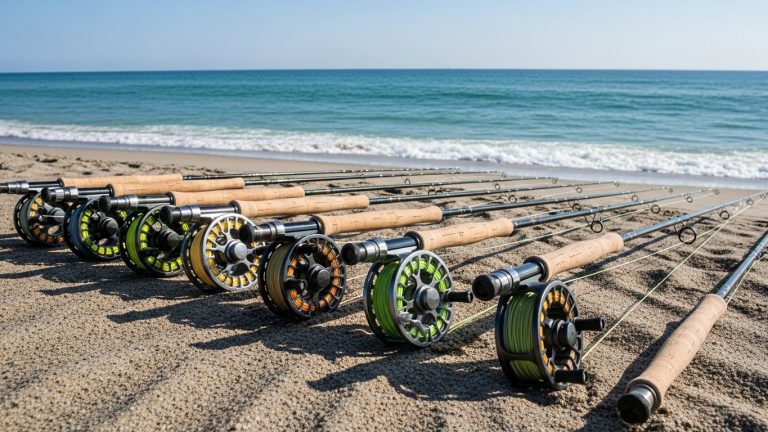
Essential Tools and Materials Needed
After preparing your fishing net by aligning meshes and trimming damaged sections, gathering the right tools and materials guarantees your repair process proceeds efficiently and accurately. Equip yourself with netting needles or shuttles to weave twine through meshes, and fishing net repair needles designed to pierce thick fibers.
Use scissors or snips for precise cuts, and measuring tape or an awl to assess hole size and maintain mesh uniformity. Select durable twine—nylon or polypropylene—with waxed thread preferred for knot security. Timely repairs with appropriate materials are crucial to maintain operational efficiency in demanding fishing conditions.
Support repair with boards and clamps to stabilize the net and ensure tension consistency. Employ protective gloves and eye protection to avoid injury. For complex repairs, consider spare mesh patches and specialized tools like heat sealers to enhance durability.
Understanding Basic Knot Techniques
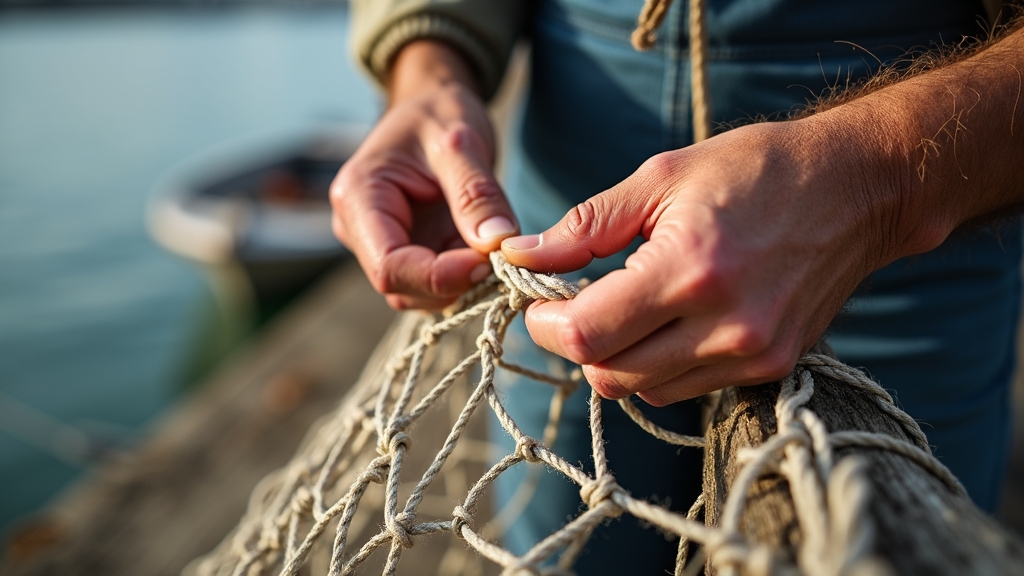
When you master basic knot techniques, you guarantee the structural integrity and uniform tension essential for effective fishing net repairs. Begin by understanding the netting knot: wrap the twine, form a loop, draw the twine through, then tighten firmly.
Use a needle for precision and maintain consistent mesh size by gripping loops with your thumb and finger. Proper finger placement, distinguishing between holders and workers, enhances knot efficiency and quality during the repair process, allowing for stronger, more reliable knots.
The straight-line presentation of certain knots can aid in maintaining the net’s structural alignment during repairs.
Prioritize the Sheet Bend knot for its secure, no-slip hold, avoiding slipknots that loosen. Start repairs at the highest hole point, cutting minimal bars to preserve tension. Pinch loops while pulling twine slowly to ensure neat, tight knots.
Finish by tying on knots with three bars to secure closure, trimming tag ends closely unless extra length is needed. Conduct pull-tests to confirm knot reliability and maintain uniform mesh alignment throughout. Proper tightening of knots by pulling on the main twine rather than the tag ends ensures durability and prevents loosening over time.
Identifying and Assessing Damage
Mastering knot techniques sets the foundation, but identifying and evaluating damage accurately guarantees your repairs target the right areas. Begin with a thorough visual inspection under bright light, checking for tears, holes, abrasions, and mesh distortions.
Use magnification tools or close-up photography to detect fine cuts. Consider the importance of knot strength when planning repairs to ensure the net maintains its integrity.
Examine float and lead lines separately for fraying or breaks that compromise tension. Note discoloration or wear spots indicating fiber fatigue. Consider environmental factors such as UV exposure, saltwater corrosion, biofouling, and mechanical strain that accelerate degradation.
In marine environments like the Papahānaumokuākea Marine National Monument, lost nets can cause significant harm by shading and abrading coral reefs, highlighting the importance of prompt net maintenance to prevent environmental damage ghost nets impact.
Classify damage severity as minor, moderate, or severe, prioritizing repairs on critical zones affecting net function. Document damage location and extent, employing high-resolution imaging or underwater inspection if necessary.
Repairing Small Tears in the Net
How do you effectively repair small tears in fishing nets to restore their functionality? First, lay the net flat and stretch the meshes squarely, trimming the tear into a neat shape oriented at 45 degrees. Remove frayed strands to create clean edges. Secure the net on a frame to maintain tension.
Use nylon or twine thread matching the net’s original gauge. Start weaving at a nearby knot by tying an anchor knot, then replicate the mesh pattern by weaving half a mesh at a time, maintaining even tension to avoid puckering. Reinforce by lashing the twine around mesh intersections with slip and half hitch knots, overlapping at least one mesh beyond the tear.
Finish with secure knots, trim excess twine, and optionally apply sealants to enhance durability. Using materials with high-quality craftsmanship ensures longer-lasting repairs and better performance in demanding conditions.
Techniques for Patching Large Holes
You’ll start by preparing the hole, cutting clean edges aligned with knots to guarantee structural integrity.
Then craft a slightly smaller patch from matching material.
Next, integrate the patch by weaving it strand by strand around the hole, maintaining even tension to prevent distortion.
Finally, secure the patch edges with reinforced knots, avoiding three-strand knots, to lock the repair firmly in place.
For best results, use strong, reliable knots such as the double uni knot to ensure your patch holds securely over time.
Preparing Hole and Patch
When preparing to patch large holes in fishing nets, why is precise cutting and alignment so critical? You must lay the net flat and square the mesh for accurate hole measurement, similar to the importance of reshaping and maintaining mesh geometry in felt shoe care.
Cut the hole roughly rectangular at a 45-degree angle to mesh lines, trimming edges to include only two-strand knots, avoiding damaged or three-strand knots. This clean, uniform perimeter ensures ideal patch fit. Proper preparation is essential because maintaining net integrity is crucial for the net’s functionality and longevity.
For the patch, cut or weave netting matching mesh size and twine gauge. The patch should be slightly smaller than the hole, with one fewer two-strand knot per side, maintaining rectangular shape and consistent knot tension.
Weaving Patch Integration
Although preparing the hole and patch sets the foundation, integrating the patch requires meticulous weaving techniques to guarantee structural continuity and durability.
Begin by continuously weaving the patch around the hole’s edges, using sheet bends and half mesh knots to replicate the original mesh structure. Pass the twine through adjacent meshes, forming tight loops with controlled slack to maintain consistent mesh size.
Using a netting needle or shuttle sized to the mesh is essential, as it allows for precision and speed in weaving. This careful approach is similar to selecting the proper fly rod weight for delicate presentations, where precision and control are paramount.
Use a netting needle or shuttle sized to the mesh for precision and speed. Anchor starting knots with short twine tails twisted around bars to ensure secure attachment. Pull knots evenly to avoid distortion or weakening.
Throughout, confirm the patch fits snugly with one fewer two-strand knot per side and that loops blend seamlessly into the existing net, preventing gaps and ensuring uniform tension.
Securing and Reinforcing Edges
Before attaching a large patch, lay the net flat and square the meshes to guarantee proper tension and alignment. Proper handling and laying out the net carefully helps minimize further damage and ensures a smoother repair process. Ensuring a secure fit in the netting is crucial to maintain durability and prevent slipping under stress.
Trim the hole into a rough rectangle at a 45-degree angle along knot rows to preserve structural integrity. Remove jagged edges but avoid cutting selvedge or adjacent meshes needed for reinforcement.
Form a selvedge mesh at the edge to anchor the patch securely. Use twine matching the original net’s diameter and material, wrapping edges tightly to create secure overlaps.
Tie square or mesh knots consistently to join patch edges without distorting mesh shape.
Leave trimmed edges about half an inch long to prevent snagging. Cut the patch slightly smaller than the hole, then weave continuously around its perimeter, reinforcing weak bars with double sheet bends for long-term durability. Repairing nets extends their usability and saves money, especially for expensive, heavy-duty nets.
Step-by-Step Patch Insertion Process
Since the patch must fit securely within the hole, you’ll start by weaving it continuously from a chosen corner—typically the top right—working meticulously around the perimeter.
Use a wooden log such as cedar, birch, pine, or any suitable wood for carving; avoid hardwoods like oak and maple to ensure the tools you use are effective and manageable.
Insert the patch’s mesh loops through the hole’s knots, replicating the net’s original structure to secure it firmly. Use a net needle threaded with twine to maintain consistent mesh tension and size.
Avoid forming new three-bar knots near edges, and never start or finish at three-strand knots; instead, use standard mesh knots. Proceed slowly, ensuring the patch remains slightly smaller than the hole for ideal tension adjustment.
Maintaining uniformity in mesh shape and knot placement throughout is essential to prevent loose or puckered areas, preserving the net’s integrity during this precise patch insertion process.
Sandpaper or traditional beach sand on leather can be used to smooth any rough edges on the patch to help maintain the net’s integrity.
Securing and Reinforcing Repairs
To secure and reinforce your net repairs effectively, you’ll need to apply specific knot techniques such as fast knots, slip knots, and fish knots that maintain tension and durability under stress.
Focus on reinforcing patch edges by creating pickups and ciders around the perimeter to preserve mesh shape and prevent distortion. These methods guarantee your repair withstands operational forces and maintains the net’s functional integrity. Proper reinforcement prevents further tearing and maintains net integrity.
Knot Techniques for Strength
When securing and reinforcing fishing net repairs, mastering knot techniques is essential to restore strength and durability. You’ll want to start at existing three-strand knots, weaving upward while maintaining mesh size and alignment.
Use appropriate knots based on twine type—overhand for rougher fibers, sheet bends for smooth ones. Control tension carefully; knots should be snug but not overly tight to avoid weakening.
Key techniques include:
- Begin and end patch weaving at the same knot within the patch for integrity
- Employ double knots at stress points to prevent slippage
- Keep knot spacing uniform to match original mesh gauge
- Use twine matching original material and gauge for consistent elasticity
- Regularly check knot tension during weaving to avoid distortion
- Practicing with larger rope can help develop a better feel for knot formation and improve technique.
Reinforcing Patch Edges
Although patching the central area of a fishing net restores its function, securing and reinforcing the patch edges is critical to prevent unraveling and maintain overall net integrity.
Begin by trimming edges neatly into rectangular or diamond shapes aligned at 45 degrees to the mesh. Before applying the patch, it is important to trim loose ends and clean the damaged area thoroughly to ensure proper adhesion and longevity of the repair.
Pull the net taut to ensure uniform tension.
Use mending twine matching the original net gauge and a suitable needle to weave continuously around the patch perimeter, tying meshes with multiple loops and half-hitches.
Employ lashing by wrapping twine around mesh junctions and secure with closure knots and back knots on twine ends to prevent slippage.
Maintaining Your Net After Repairs
Since repairing your fishing net restores its functionality, maintaining it properly afterward guarantees durability and performance.
Regularly clean your net with fresh water, using mild soap for heavy soil, and always dry it thoroughly to prevent mold and fiber weakening. It is important to inspect your netting for holes or tears regularly and make repairs promptly to prevent further damage.
Inspect for new damage consistently to address issues early.
Store your net in cool, shaded, and dry environments to avoid UV damage and deformation.
Additionally, monitor all attachments and accessories, replacing or lubricating as needed to maintain ideal balance and function.
- Rinse and clean nets post-use, avoiding harsh chemicals
- Inspect for frays, tears, or broken knots before and after trips
- Store nets loosely in breathable, shaded areas, away from chemicals
- Check floats, weights, ropes, and hardware regularly for wear
- Document repairs and monitor patch integrity over time
Tips for Efficient On-Field Mending
You’ll start by quickly evaluating the damage to determine the appropriate repair method, focusing on the size and location of the tear.
Carry compact, sharp tools like scissors and matching nylon twine to ensure clean cuts and consistent mesh strength on the field.
Simplify knot techniques by initiating and terminating repairs on flat mesh points using overhand and back knots for secure, efficient mending.
Quick Damage Assessment
How can you rapidly identify and prioritize net damage to guarantee effective on-field mending? Start by conducting a systematic visual and tactile inspection, focusing on knots and mesh intersections, using good lighting.
Prioritize damage by categorizing it into minor, moderate, and severe, addressing high-risk areas first. Factor in environmental conditions like debris accumulation or biofouling, which may exacerbate weaknesses. Since ghost nets significantly contribute to marine pollution and environmental harm, timely repair and maintenance are essential to mitigate their impact.
Test damaged sections under load to assess functional impact, ensuring no large gaps or knot failures. Efficiently document damage with photos and notes for repair planning.
- Systematically scan net surfaces under good light
- Categorize damage severity to prioritize repairs
- Consider environmental factors influencing damage urgency
- Perform functional load testing on compromised areas
- Document damage precisely for efficient communication and planning
Portable Repair Tools
A well-equipped portable repair kit guarantees you can efficiently mend fishing nets in the field, minimizing downtime and maintaining net integrity. Include lightweight, corrosion-resistant plastic or metal netting shuttles with assorted sizes to handle various mesh types.
Ergonomically designed needles with smooth, textured grips reduce hand fatigue and improve control, especially in wet conditions. Carry thread or twine compatible with the net’s material, plus scissors and lightweight pliers for precise trimming and stitching.
Compact, organized containers protect tools from moisture and loss. You can also craft custom needles from metal rods or wire, adding sturdy handles and attachment cords for convenience.
Prioritize durability and portability to ensure your kit withstands harsh environments while enabling rapid, effective repairs on-site.
Simplified Knot Techniques
When repairing fishing nets on the field, mastering simplified knot techniques considerably enhances efficiency and durability. Start repairs at three-strand knots to anchor your work securely. Use overhand knots to initiate and finish repairs quickly, ensuring stability.
Maintain mesh alignment by trimming damage into diagonal rectangular shapes and weaving patches continuously to preserve tension. Avoid complex knots; simple side or overhand knots offer ideal speed and strength. Always finish at a different knot point to lock your repair firmly. Remember that maintaining consistent mesh tension is crucial for the net’s overall strength and durability.
Key tips for efficient knotting:
- Begin and end repairs at three-strand knot points for secure anchorage.
- Use overhand and pick-up knots for quick, strong fixes.
- Keep mesh size uniform to prevent tension irregularities.
- Weave repairs tightly around holes for integrated strength.
- Cut excess twine close to knots to prevent unraveling.
Frequently Asked Questions
How Often Should Fishing Nets Be Replaced Instead of Repaired?
You should replace fishing nets when damage is extensive, such as large tears, missing panels, or severe wear that compromises function.
Frequent losses, around 5.7% annually globally, also justify replacement to maintain efficiency.
If repair costs near or exceed replacement costs, or nets reach end-of-life, replacement is preferable.
Consider environmental impact and operational needs, balancing repair feasibility against net lifespan and fishing conditions to optimize sustainability and performance.
Can Synthetic and Natural Fiber Nets Be Repaired Using the Same Techniques?
You might think synthetic and natural fiber nets can be repaired the same way, but that’s not entirely true. While both require manual knotting and mesh restoration, their distinct material properties demand tailored approaches.
Synthetic fibers tolerate tension and UV exposure better, so you can use slightly different twine and tensioning.
Natural fibers need moisture control and careful handling due to brittleness and shrinkage.
What Are Common Mistakes to Avoid During Net Repair?
Avoid common mistakes like securing knots loosely, which causes holes to reopen under tension. Don’t leave long tails or excessive ends that snag and worsen damage. Use appropriate knot types to prevent bulky finishes that hinder function.
Trim knots closely and reinforce surrounding mesh to guarantee durability. Also, steer clear of incompatible repair materials and neglecting regular inspections, as these lead to premature failure and diminish your net’s lifespan substantially.
How Do Weather Conditions Affect Net Repair Durability?
Imagine repairing your net right before a storm hits. Weather conditions directly impact repair durability: UV radiation breaks down fibers, making patched areas brittle. Saltwater accelerates corrosion and weakens stitching. Temperature extremes cause material expansion or brittleness, stressing repairs.
Wind and abrasion can fray new knots or seams. To guarantee lasting fixes, use UV-resistant materials, waterproof threads, and store nets carefully after repair to minimize environmental damage.
Are There Eco-Friendly Materials Recommended for Net Repairs?
Yes, you should consider eco-friendly materials like biodegradable polymers and biobased twines for net repairs. These materials break down in industrial composting conditions, reducing marine plastic pollution.
Twines such as UV-treated polyethylene, nylon with resin coatings, and high-modulus polyethylene spectra offer durability and resistance while supporting sustainability. However, balance durability and handling properties carefully, and guarantee proper disposal to maximize environmental benefits and comply with evolving regulations in sustainable fishing practices.
Take the Next Step in Mastering Fishing Net Repair
Repairing your fishing net is like weaving strength back into a delicate fabric. By carefully evaluating damage, mastering essential knots, and methodically reinforcing tears, you restore its integrity and prolong its lifespan.
With the right tools and precise techniques, you guarantee each repair withstands the stresses of the water. Consistent maintenance and prompt mending keep your net functional and reliable, turning small flaws into lasting resilience for every fishing expedition.