Caddis Nymphs Patterns: Choosing the Right Hook Size
When fishing with caddis nymph patterns, choose hooks sized #14–16 with tungsten bead heads in colors like copper, black, or gold to match natural larvae and pupae. Use materials such as natural dubbing, soft hackle collars, and subtle flash for realistic movement and visibility.
Weighted patterns guarantee proper sink rate, allowing you to fish rocky bottoms and shift zones effectively. Mastering these techniques improves your strike rate during caddis emergences and deeper stages—explore how precise pattern selection enhances trout success further.
Key Takeaways
- Popular caddis nymph patterns include Peeping Caddis, SRI Caddis, and Deep Sparkle Pupa for realistic larva and pupa imitation.
- Size #14 to #16 hooks best mimic natural caddis nymph proportions, with curved shanks enhancing presentation.
- Tungsten or metallic bead heads in green, black, or copper improve sink rate and mimic natural insect movement.
- Use natural dubbing, soft hackle collars, and subtle flash materials like Flashabou to increase visibility and lifelike action.
- Earth tones such as tan, olive, cinnamon, and darker shades match natural caddis nymph colors in various water conditions.
Key Caddis Nymph Patterns for Trout Fishing
You’ll find key caddis nymph patterns typically use hook sizes between #14 and #16 to match natural insect proportions accurately. Choosing the right pattern can significantly improve your catch rate by matching the hatch more closely to trout feeding behavior.
Incorporating tungsten bead heads enhances sink rate, allowing you to fish effectively in varying currents. These beads often come in colors like green, black, or silver to suit different water clarities and conditions, improving sink rate and visibility.
Selecting materials like natural dubbing, soft hackle, and subtle flash guarantees your imitation closely mimics caddis larvae behavior and appearance. Using quality materials also contributes to durability and effectiveness of the fly in diverse fishing environments.
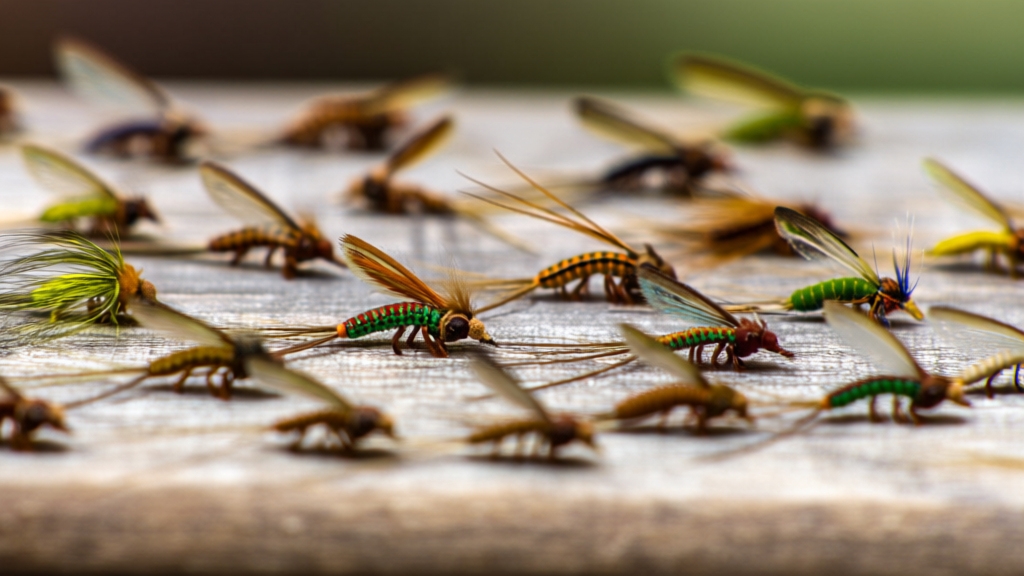
Popular Nymph Variations
When selecting caddis nymph patterns for trout fishing, you’ll find that popular variations focus on accurately imitating key life stages—larvae, pupae, and emerging forms—while balancing visibility and natural presentation. It is important to choose patterns that match the rod’s power rating to ensure effective casting control.
For larvae, patterns like the Peeping Caddis and SRI Caddis replicate case-bearing behavior with subtle earth tones and occasional flash to simulate natural shimmer. Pupal imitations such as the Caddis Pupa and Deep Sparkle Pupa emphasize translucence and reflective elements to mimic the cocoon’s membrane.
Emerging forms benefit from CDC-based patterns like the Graphic Caddis and CDC Caddis Emerger, which provide realistic movement and flotation. Soft Hackle & CDC Caddis are especially effective as emerger imitations and can be swung, stripped, or dead drifted.
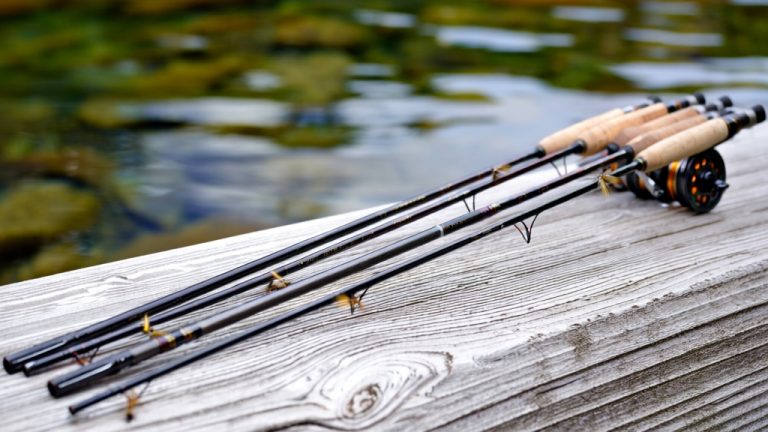
Modern adaptations like Walt’s Worm and Frenchie-Jig style variations add density or jig-hook geometry to enhance depth control and hook-up efficiency, essential for targeting trout holding in varying current velocities. Matching the lure weight with rod specifications helps prevent undue strain and potential damage to the fishing rod.
Effective Hook Sizes
Selecting the right hook size plays a crucial role in effectively imitating caddis nymphs and enticing trout strikes. Ideal sizes range from 12 to 16, balancing natural profile and hook efficiency. Size 14 is perfect for standard patterns like hare’s ear, while size 16 suits delicate, smaller nymphs.
Curved shank hooks in this range replicate the nymph’s natural bend, enhancing presentation and hook sets. Adjust sizes based on trout dimensions and water clarity to maximize strike potential.
Using the appropriate hook size helps imitate natural prey more effectively, improving overall fishing success. Choosing gear with the right waterproofing and protection ensures comfort and safety during fishing excursions.
| Hook Size | Typical Use |
|---|---|
| 12 | Larger, mature nymphs |
| 14 | Standard caddis nymph patterns |
| 16 | Smaller, delicate nymphs |
| 18-22 | Very small nymphs/emers (less common) |
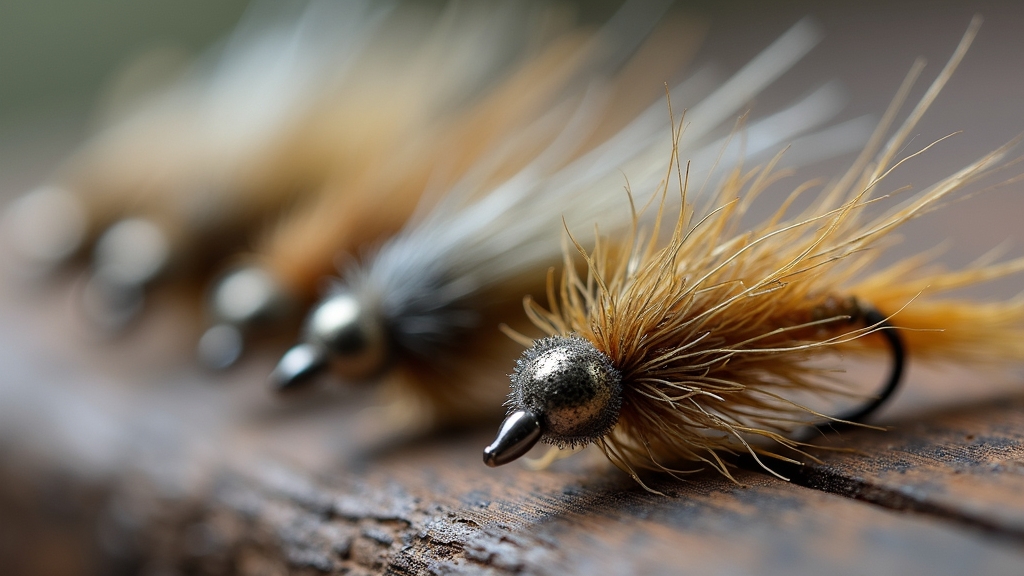
Weighting and Materials
Although weighting caddis nymphs demands careful consideration, mastering the use of tungsten beads, lead or lead-free wire wraps, and strategically placed materials will considerably enhance your fly’s sink rate and natural presentation.
Use countersunk tungsten beads sized 2mm to 4mm at the fly’s head for ideal sinking orientation and a natural profile. Wrap lead wire (0.01–0.025 inch) beneath the thorax to add bulk and density. If you prefer lead-free wire, compensate with additional turns due to its lower density.
Choose bead colors—black, copper, or fluorescent—to match water clarity and attract trout. Employ heavy-duty thread (UTC 140 or 70 Denier) and segmented dubbing with copper ribbing to replicate larval texture. CDC feathers simulate legs and shuck.
Proper weight distribution near the thorax ensures realistic movement and anchoring in currents. To achieve a smooth and tapered body profile, it is critical to wrap the thread back in touching turns to the hook’s bend, creating a solid foundation for subsequent materials.
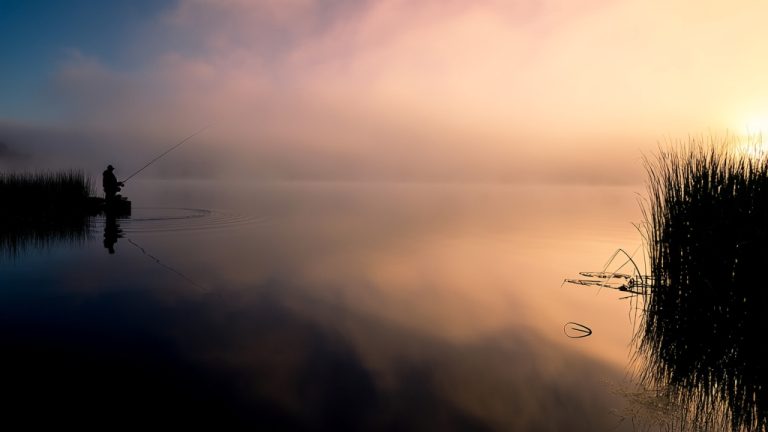
Effective Fishing Techniques Using Caddis Nymphs
To maximize your success with caddis nymphs, you must focus on precise presentation and drift control that mimic natural insect behavior. Cast upstream at an angle, allowing the nymph to drift naturally through seams or riffles. This approach reflects the hook-centric techniques that define angling and enhance effectiveness.
Success with caddis nymphs hinges on precise presentation and natural drift through seams and riffles.
Keep a high rod tip to prevent drag and mend your line to maintain a dead drift. Target rocky bottoms and transition zones between current speeds where caddis larvae concentrate.
Key techniques include employing strike indicators or tight-line methods to detect subtle takes. Use multi-fly rigs with weighted point flies and lighter droppers to cover different depths near the bottom. Recognizing that trout often prefer emerging pupae over adults for feeding opportunities can guide your fly selection and presentation.
Adjust your casting and mending based on water speed and depth to keep the fly in the strike zone. These strategies ensure natural movement and improve hookups with trout feeding on caddis nymphs.
Material Choices and Weighting in Caddis Fly Patterns
You’ll want to choose weighting materials like tungsten beads and lead-free wire cautiously to control sink rate while maintaining a natural silhouette. Incorporating UV-treated dubbing fibers enhances visibility under varying light conditions, increasing the nymph’s attractiveness.
Balancing these elements precisely ensures your fly mimics natural behavior and triggers strikes effectively. The Caddis Nymph is recognized as the easiest nymph to tie, making it ideal for quick assembly and customization. Selecting the appropriate fly size and weight is essential, as rods like the 4wt fly rod excel in presenting smaller, delicate flies with finesse.
Effective Weighting Materials
Effective weighting materials play a crucial role in replicating the natural behavior and depth of caddis larvae in fly patterns. You’ll rely on tungsten beads for rapid sinking and precise depth control, choosing sizes between 2.3mm and 3mm depending on the pattern’s delicacy.
Lead or lead-free wire wrapped around the hook shank adds subtle weight without altering the silhouette. Placement near the bead head ensures balance and natural swimming motion. Slotted tungsten beads secure snugly for enhanced realism and reduce snagging.
Thread wraps over wire maintain taper and durability without bulk. Combining heavier beads and wire tailors sink rate for varying currents and target species. Additionally, using jig hooks and matte black beads enhances the effectiveness of pupa imitations by keeping flies in the strike zone.
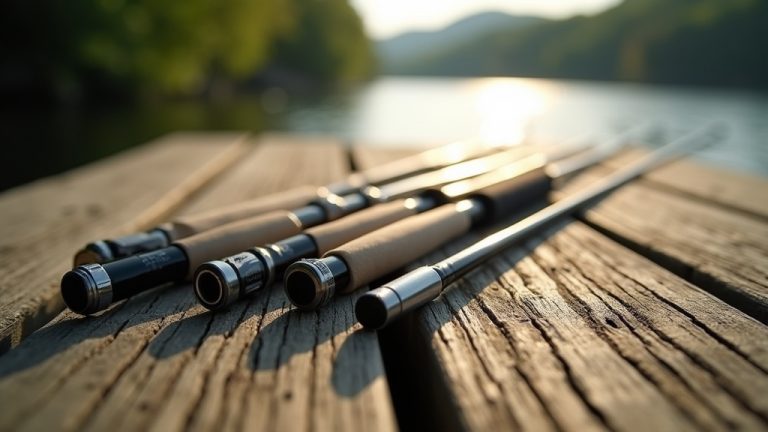
Selecting rods with carbon fiber components is advantageous for anglers seeking lightweight and durable gear that complements precise fly presentation. Mastering these techniques ensures your caddis nymphs drift authentically, improving strike potential in diverse water conditions.
Enhancing Attraction Techniques
Although selecting the right materials is critical, combining them with precise weighting techniques substantially enhances the realism and attraction of your caddis fly patterns. Use cream-colored latex stretched during tying to create tapered, segmented bodies that mimic natural larval profiles.
Incorporation of Softex clear flexible coating not only adds lifelike texture but also improves durability, ensuring the fly withstands multiple strikes with enhanced realism and durability. Properly weighted flies also benefit from a tippet that can help manage casting and presentation.
Incorporate micro polar chenille in UV Chartreuse or olive for increased visibility and a swollen body effect, simulating various insect stages. Apply soft materials like Softex or hare’s mask dubbing on the thorax to add texture and lifelike movement.
Add fine wire ribbing to emphasize segmentation and secure components. Subtle color manipulation with markers or acrylic paint tailors patterns to local caddis species, while tungsten beads maintain depth and stimulate strikes.
Finally, integrate CDC fibers for legs or antennae, enhancing natural twitching in currents, therefore maximizing your fly’s effectiveness. Using an appropriate tippet length ensures a natural presentation and increased chances of attracting wary fish.
Optimal Sizes and Color Palettes for Caddis Nymphs
Selecting the ideal sizes and color palettes for caddis nymph patterns hinges on closely matching the natural larvae and pupae found in specific water bodies.
You want to carry hooks primarily between sizes 14 and 18, as these cover the sweet spot for most trout waters. Adjust sizes depending on observed nymph scale and stage, with 12–20 offering flexibility. Using nymphs in the 12-18 size range is especially effective for targeting brown trout.
Color choice must replicate the natural environment and insect hues, emphasizing earth tones and reflective elements. Choosing materials that enhance visual clarity can improve the fly’s visibility to fish in different water conditions.
Key considerations include using tan, olive, and cinnamon to mimic larvae tones; black, mahogany, and dark olive for deeper, murkier waters. Incorporate metallic bead heads in copper or gold for shimmer reflecting pupae emergence. Matching size and silhouette to cased or naked larval stages increases realism and effectiveness.
Timing and Impact of Caddis Hatches on Fishing
Building on the significance of caddis nymphs as a consistent trout food source, understanding the timing and dynamics of caddis hatches sharpens your ability to anticipate trout feeding behavior.
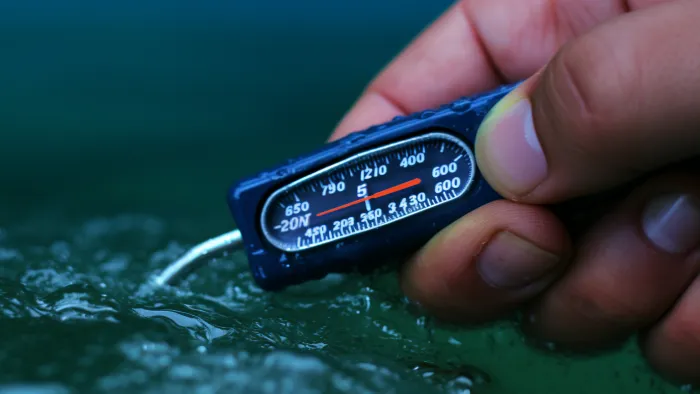
Caddis hatches generally occur from early spring through October, with peak activity often triggered by water temperatures around 52–54°F (11–12°C). Most caddis larvae are case builders, creating protective shelters from natural materials like sticks and leaves, which play a role in their emergence timing.
Daily, mid-morning and dusk periods see the highest emergence and trout surface feeding. Key considerations include seasonal hatches like the Mother’s Day and Spotted Sedge events, which create intense feeding windows. Trout shift from subsurface to surface feeding as adults emerge, increasing rise frequency.
Environmental factors such as water clarity and flow impact hatch success and fish responsiveness. Mastering these patterns enhances your strategic timing for deploying caddis patterns during critical trout feeding frenzies.
Using Multiple Fly Rigs With Caddis Patterns
When you rig multiple caddis flies together, you can present a dynamic range of patterns and depths that better mimic natural insect behavior. Use either the in-line method for simplicity or a blood knot leader extension for freer drift. This helps balance the risk of tangling with improved movement.
Typically, place heavier beadhead nymphs below lighter emergers above. This approach helps you reach depth while maintaining a natural drift.
Adjust leader length and tippet diameter to optimize turnover and presentation depending on current speed and hatch stage. Experimenting with different rigs is encouraged to find the optimal setup for specific scenarios, enhancing your chances of success with multiple nymph rigs.
| Rigging Method | Advantage |
|---|---|
| In-line | Easy setup, less tangling |
| Blood knot extension | Freer drift, more natural motion |
| Heavy point fly below | Ensures depth, quick sinking |
Enhancing Fly Visibility With Flash and Collars
Although natural light conditions underwater can obscure your fly, incorporating flash materials and collars considerably enhances the visibility and lifelike movement of caddis nymph patterns.
You’ll use fine flash fibers like Flashabou or Krystal Flash in silver or pearl hues to simulate natural insect shimmer without unnatural sparkle. Pairing these with soft hackle collars behind the thorax adds pulsating motion that imitates insect legs or gills.
To optimize this effect, focus on tying flash subtly as ribbing or tail accents beneath the collar for dimensional shimmer. In addition, using UV glue or resin to secure fibers ensures durability while maintaining natural flexibility in the fly.
Also, select collar density and length to balance silhouette and fluid movement. Securing fibers with UV glue or resin helps maintain natural flexibility and durability. This combination increases detection in murky or low-light water and triggers trout strikes through realistic light and movement cues.
Frequently Asked Questions
How Do Water Temperature Changes Affect Caddis Nymph Behavior?
You’ll notice that as water temperatures rise, caddis nymphs shift their emergence timing to complete development before conditions worsen, like drying streams. Their activity increases near 50°F (10°C), making them more available to predators such as trout.
Below 45°F (7°C), they stay submerged and less active on the surface. However, temperature isn’t the only factor influencing behavior; other environmental variables also play vital roles in modulating nymph activity patterns.
What Are Common Predators of Caddis Nymphs Besides Trout?
Imagine a bustling underwater marketplace where caddis nymphs are the coveted goods. Besides trout, you’ll find stonefly nymphs, dragonfly larvae, and predatory beetles as relentless buyers. Grayling, bass, and pike patrol like vigilant guards, snatching prey opportunistically.
Birds like dippers and herons plunge in, while amphibians and crustaceans scavenge nearby. Each predator exerts precise pressure, shaping caddis nymph survival through complex freshwater food webs.
How Long Do Caddis Nymphs Typically Remain in the Larval Stage?
You’ll find that caddis nymphs typically remain in the larval stage for about one year, passing through five instars. However, this duration can vary; some species develop multiple generations annually, while others extend larval development up to two years, especially in colder environments.
Environmental factors like water temperature and food availability directly influence growth rate, so warmer waters speed up development, while cooler conditions prolong the larval stage before pupation.
Can Caddis Nymph Patterns Be Effective in Stillwater Fishing?
Absolutely, caddis nymph patterns can be your secret weapon in stillwater fishing. They imitate essential trout food stages, especially when weighted to sink quickly near the bottom where trout feed.
Using dead drift or emerger techniques, you can precisely target trout at various depths. Employ long leaders with fine tippets for subtle presentations. Properly matched patterns like Tungsten or Iris Caddis enhance your chances by mimicking natural insect behavior with high accuracy.
What Environmental Factors Trigger Caddis Emergence in Different Regions?
You’ll find that caddis emergence is triggered primarily by water temperature shifts, seasonal photoperiod changes, and hydrological cues like snowmelt or stable stream flows. Local oxygen levels, pH, and mineral content also play roles, varying by region.
Vegetation density and habitat structure influence microclimates and dispersal, while pollution and sedimentation from land use changes can delay or disrupt emergence timing. You must consider these factors to predict emergence accurately.
Timing Your Approach with Precision Hatches
Mastering caddis nymph patterns is like fine-tuning a precision instrument every detail counts. When you understand their lifecycle, select the right materials, and adjust size and weight meticulously, you’ll reveal trout’s feeding behavior with surgical accuracy.
Timing your approach with hatches and using multiple rigs enhances your effectiveness. By integrating flash and collars thoughtfully, you sharpen your fly’s visibility, ensuring your presentations mimic nature flawlessly and trigger strikes consistently.