Basic Fishing Setup for Beginners: Smooth and Successful Fishing Trip
For a basic fishing setup, choose a light-power, fast-action rod about 4 to 6 feet long paired with a spinning reel to make casting and handling easier. Use 6-12 lb monofilament line for versatility and attach hooks using secure knots like the improved clinch.
Add a bobber and sinker placed a few inches above the hook for effective bite detection. Include essential tools such as pliers and a tackle box. Keep following along to uncover more tips for a successful fishing experience.
Key Takeaways
- Choose a 5-7 ft light to medium power spinning rod with 6-12 lb monofilament line for versatile beginner fishing.
- Use basic hooks, split shot sinkers placed 4 fingers above the hook, and an adjustable bobber for bite detection.
- Tie hooks securely with knots like the improved clinch, moistening the line to ensure knot strength and durability.
- Organize essential tools such as pliers, line cutters, and a landing net for safety and efficient handling.
- Maintain gear by cleaning reels and rods regularly to ensure longevity and reliable performance.
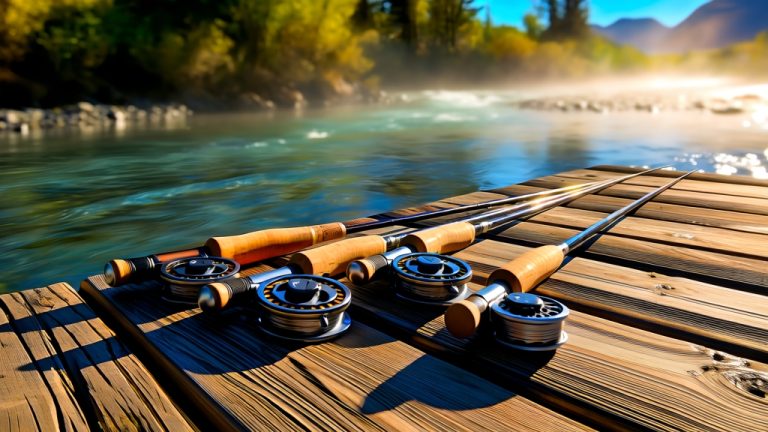
Choosing the Right Rod and Reel
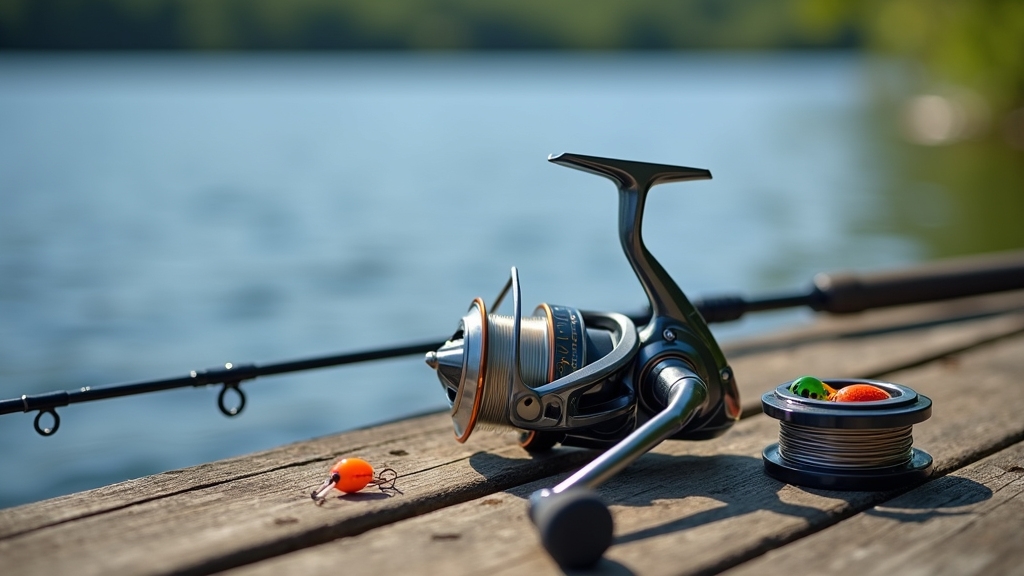
When you’re just starting out, choosing the right rod and reel can make all the difference in your fishing experience. Opt for a light-power rod if you’re targeting smaller fish, as it bends easily and requires less effort. Fast-action rods bend near the tip, helping you feel subtle bites and set hooks quickly.
Choose a light-power, fast-action rod to easily detect bites and hook smaller fish efficiently.
Graphite rods are lightweight and sensitive, perfect for detecting fish, though they’re a bit more fragile. Fiberglass rods offer durability and flexibility but are less sensitive. After fishing, proper care like cleaning felt shoes can help maintain your gear’s longevity.
Aim for a rod length between 4 to 6 feet for easy handling and good casting distance. Pair your rod with a spinning reel, which is simple to use and reduces line tangles, making it ideal for beginners.
Investing in a quality, affordable spinning reel can help prevent common beginner mistakes and improve your overall fishing experience best choice for beginners. This setup balances comfort, control, and effectiveness for your first fishing trips.
Selecting Suitable Fishing Line
When picking your fishing line, start with monofilament for its flexibility and ease of use. Monofilament line is also inexpensive and offers good knot strength, making it ideal for beginners.
Make sure to match the line strength to the fish you’re targeting, so it holds up without being too heavy. You can also add a fluorocarbon leader to improve invisibility and hook sets in clear water. Using a fluorocarbon leader provides superior abrasion resistance and reduces line visibility, which is beneficial for clear water fishing.
Monofilament Line Benefits
A monofilament line offers an excellent balance of affordability, versatility, and user-friendly handling, making it a top choice for anglers selecting suitable fishing line. You’ll appreciate its cost-effectiveness, as it’s budget-friendly and easy to replace if you tangle or make mistakes.
This line works well in both freshwater and saltwater, supporting various fishing styles like casting and trolling. It also performs well in different fishing conditions, providing flexibility for diverse environments.
Its natural stretch absorbs shocks, reducing breakage during sudden pulls and helping you land more fish. You’ll also find it flexible and limp, which makes knot tying easier and casting smoother, especially if you’re just learning.
Additionally, monofilament’s ability to resist abrasion helps prolong the line’s durability in challenging fishing environments abrasion resistance. While it’s not the most sensitive line, monofilament’s forgiving nature and buoyancy enhance lure action, making it ideal for beginners wanting a reliable, general-purpose fishing line.
Matching Line Strength
Although selecting the right line strength might seem straightforward, it plays an essential role in your fishing success and gear durability. You’ll want to match line strength, measured in pounds (lb test), to the size of your target fish. For small species like trout or panfish, 4-8 lb test lines work well.
Medium fish such as bass need 8-12 lb test lines, while large fish like catfish require 15-30 lb test or more. Additionally, choosing gear that complements your line strength can enhance your overall fishing experience, much like selecting sunglasses with appropriate lens technology improves visual performance.
Always check your rod and reel’s recommended line weights to avoid gear stress or casting problems. Consider factors like underwater cover and fish fight intensity; tougher conditions call for stronger, more abrasion-resistant lines.
Fluorocarbon Leader Uses
Why choose a fluorocarbon leader for your fishing setup? Fluorocarbon leaders offer superior abrasion resistance, low visibility, and sinking properties that improve lure presentation and increase bite rates, especially in clear water.
Additionally, pairing such leaders with sunglasses that provide UV protection helps anglers maintain clear vision and eye health during long fishing sessions. Pairing fluorocarbon with a braided mainline combines strength and invisibility, enhancing your fishing success.
This combination allows for better sensitivity and durability while keeping your line less visible to fish. Using a braided fluorocarbon leader setup also enhances bite sensitivity by reducing line visibility and providing stretch when fighting fish near the boat.
| Feature | Benefit | Ideal Use |
|---|---|---|
| Abrasion Resistance | Protects against rocks & teeth | Rocky or toothy predator areas |
| Low Visibility | Hard to detect by fish | Clear water, shy species |
| Density | Sinks quickly | Bottom fishing or heavy cover |
| Stiffness | Reduces lure fouling | Topwater and finesse lures |
| Shock Absorption | Maintains hook sets | Fighting strong fish |
Select fluorocarbon leaders that match your mainline diameter and fishing conditions for the best results. This ensures optimal performance and increases your chances of landing that big catch.
Setting Up Hooks, Sinkers, and Bobbers
You’ll want to start by securely tying your hook to the line using a reliable knot like the improved clinch or Palomar. Next, place your sinker about 6 to 12 inches above the hook. This setup helps keep your bait moving naturally without dragging.
Finally, adjust your bobber’s position to match the fishing depth. Choosing the right hook size ensures effective bait presentation and better fish hooking. Make sure the bobber is set to detect bites clearly. Also, ensure it keeps your bait off the bottom for the best results.
Hook Attachment Techniques
When setting up hooks, sinkers, and bobbers, mastering effective attachment techniques guarantees your gear performs well in the water.
Start by choosing a knot suited to your line type: the Improved Clinch Knot works well with monofilament, while the Palomar Knot suits heavier or braided lines. The choice of knots reflects the importance of precise bait presentation in angling to trigger bites effectively.
To tie the Improved Clinch Knot, thread the line through the hook eye, wrap it 5 to 7 times around the standing line, pass the tag end through the loop near the eye, tighten, and trim excess. Always moisten your line before tightening to prevent damage. Using saliva to moisten knots helps cinch them tightly and increases knot strength.
Attach bobbers above sinkers by threading the line through the bobber’s eye or clipping it on, leaving enough slack for natural bait movement. Practicing these steps builds confidence and ensures secure setups.
Proper Sinker Placement
After mastering hook attachment techniques, focusing on proper sinker placement helps improve your bait’s presentation and casting efficiency.
Place the sinker about four fingers’ distance from the hook to balance sensitivity and ease of casting. Split shot sinkers work well here, clamping onto the line near the hook for quick adjustments. Different sinkers serve specific fishing techniques, so choosing the right type is essential.
Selecting the correct lens tint, like amber or copper, can also enhance your ability to see your line and bait clearly during different light conditions. If you use a bobber, position the sinker close to the hook to reduce tangles and maintain control.
Choose sinkers based on water conditions: heavier ones for strong currents and lighter ones for calm waters. For rocky bottoms, slim sinkers help avoid snags, while flat sinkers prevent sinking in muddy areas. Proper placement lets your bait move naturally, increasing your chances of a strike without spooking fish.
Bobber Adjustment Tips
Although setting up hooks, sinkers, and bobbers may seem straightforward, adjusting each component correctly can dramatically improve your fishing success. Choosing the right fishing line, such as understanding the abrasion resistance of your line, can further enhance your rig’s durability and effectiveness.
When using slip bobbers, attach a bobber stop at your chosen depth. This lets you suspend bait precisely where fish feed without re-tying. Proper setup improves bite detection and increases chances of catching fish.
Slide a small bead after the stop to protect knots and control bobber movement. Choose bobber size based on water depth and visibility needs. Smaller bobbers offer less resistance, but larger ones help casting.
Use split shot sinkers above the hook to balance the rig. Keep the weight enough to maintain bait depth but light enough to keep the bobber responsive.
After casting, watch the bobber’s behavior and adjust the stop as needed to target fish feeding zones effectively, especially in varying depths. This adjustable depth control is key to optimizing rig efficiency and catching more fish.
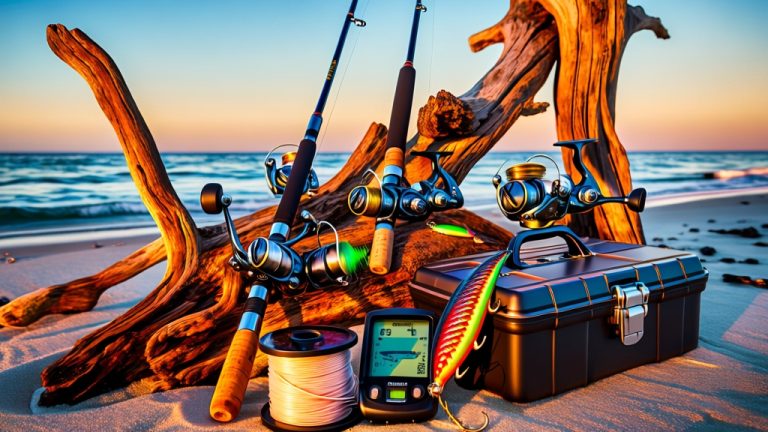
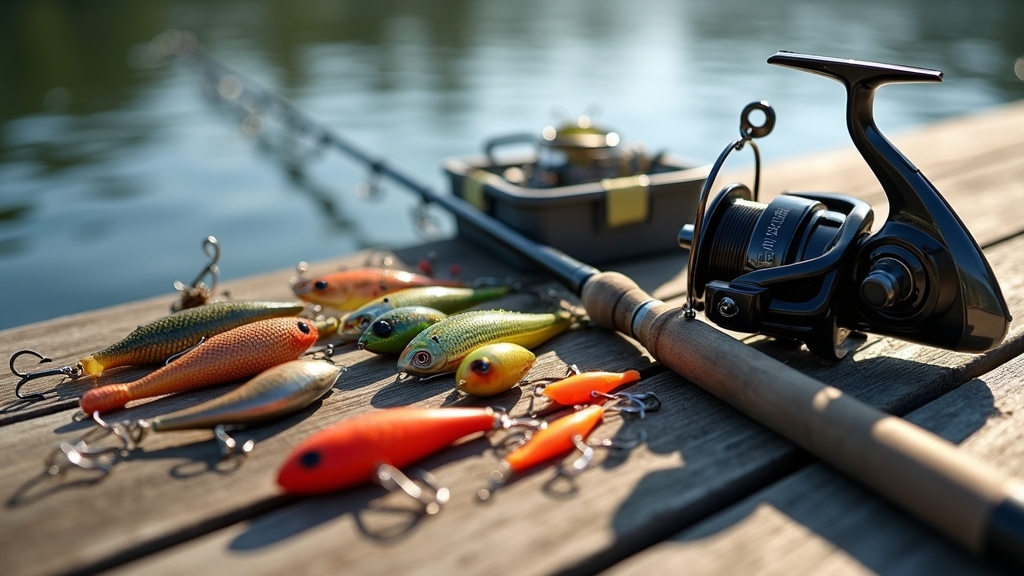
Essential Tackle and Tools for Beginners
Choosing the right tackle and tools sets the foundation for a successful fishing experience, especially when you’re just starting out.
Begin with a spincast or spinning combo rod between 5 to 7 feet for ease and versatility. Use monofilament fishing line rated 6 to 12 pounds to match common freshwater fish. It is important to match your lure weight to the rod’s recommended range to ensure equipment compatibility and casting performance.
Include basic hooks like circle or J-hooks, sinkers placed 6 to 12 inches above the hook, and bobbers for bite detection. Selecting the appropriate rod length and reel type helps improve casting accuracy and control. Organize your gear in a tackle box with compartments for quick access.
Equip yourself with essential tools such as multi-tools with pliers, line cutters, and needle-nose pliers to handle hooks and lines safely. Don’t forget a landing net and a fishing license to fish legally and responsibly.
Picking Effective Bait and Lures
When you pick bait and lures that match the fish you’re after, you’ll see better results on the water.
For example, use red wiggler worms to attract a wide range of species, or mealworms for bluegill and trout, especially in cold water. Adding fishing beads to your setup can increase visibility and mimic prey, making your bait more attractive.
If you’re targeting bass, try artificial lures like spinnerbaits or crankbaits, which mimic natural prey and work well near vegetation or structures. For catfish, go with strong-smelling baits like processed meats or shrimp. Cheese bait is another unique option that can be very effective for catfish due to its strong scent and taste.
Remember, live bait like minnows needs proper storage to stay fresh, while artificial lures offer durability and reusability. Match the bait size and movement to the fish’s feeding habits and water conditions to maximize your chances of success. Keep your bait lively and your lure moving to attract more bites.
Understanding Licensing and Local Regulations
After selecting the right bait and lures, it’s important to understand the rules that govern fishing in your area. Most states require a fishing license if you’re 16 or 18 and older, while younger anglers often fish license-free with a guardian.
Before fishing, check local rules; many states require a license for anglers 16 or 18 and older.
Licenses vary by type—daily, annual, freshwater, saltwater—and fees differ for residents and non-residents. You can buy licenses online or in person, often needing ID and personal details. Legal permits help regulate fishing to ensure sustainability of fish populations.
Always carry your license, digital or physical, as officials may check it. Besides licensing, obey local regulations on seasons, catch limits, and protected species.
Staying informed helps you fish legally and supports conservation efforts funded by licensing fees. Following these rules keeps fishing sustainable and enjoyable for you and future anglers.
Frequently Asked Questions
How Do I Properly Store and Maintain My Fishing Gear After Use?
You should rinse your rods and reels with fresh water right after use to remove salt and dirt. Clean with warm, soapy water if you fished in saltwater. Dry everything completely before storing to prevent rust and mold.
Loosen the drag on reels and remove the fishing line for long-term storage. Store gear in a cool, dry place with good ventilation, using rod racks and tackle boxes to keep everything organized and protected.
What Safety Precautions Should I Take While Fishing Alone?
When fishing alone, always wear a personal flotation device and carry a charged phone in a waterproof case. Inform someone of your location and expected return time.
Check weather conditions beforehand and assess the fishing spot for hazards. Avoid risky areas or maneuvers beyond your skill level, and stay aware of your surroundings. Bring a first aid kit and, if boating, use an engine cut-off switch lanyard for safety.
How Can I Identify Fish Species in Unfamiliar Waters?
Think of each fish as a living puzzle colored by nature’s brush. To identify species in unfamiliar waters, observe their body patterns, mouth shape, and unique markings.
Note where they dwell—rocky or weedy spots—and their behavior, like nesting or schooling. Use field guides or apps, and take photos for later comparison. Combining physical traits with habitat clues will help you confidently name your aquatic finds.
What Are the Best Times of Day for Beginner Fishing Success?
You’ll have the most success fishing early in the morning around dawn and again in the evening near sunset. Fish are more active then, feeding near shorelines. Avoid midday when fish often hide in cooler, deeper water unless it’s cloudy.
Also, check solunar calendars to time your trip around major feeding periods. These windows boost your chances, making your fishing experience more rewarding and enjoyable.
How Do Weather Conditions Affect Fishing and Gear Choice?
Oh sure, just ignore the weather and expect fish to queue up for you! In reality, you’ll want to adjust your gear and tactics based on conditions. Falling pressure means fish feed aggressively—use faster lures. Rising pressure calls for slower, subtler presentations.
Wind affects water movement, so pick tackle that handles rough conditions. Cloudy skies encourage shallow feeding, so cast lighter lines. Stay adaptable, and you’ll outsmart fish no matter what nature throws your way.
Starting Your Fishing Journey with Confidence
Getting started with fishing might feel overwhelming, but it doesn’t have to be. By choosing the right rod and reel, picking suitable line, and setting up your hooks and bobbers correctly, you’ll be ready to catch fish in no time.
Don’t worry if you’re unsure about tackle or bait—practice and patience will help you learn quickly. Just remember to check licensing rules before you head out, and you’ll enjoy every moment on the water.