How to Make a Fly Rod: Step-by-Step Beginner’s Guide
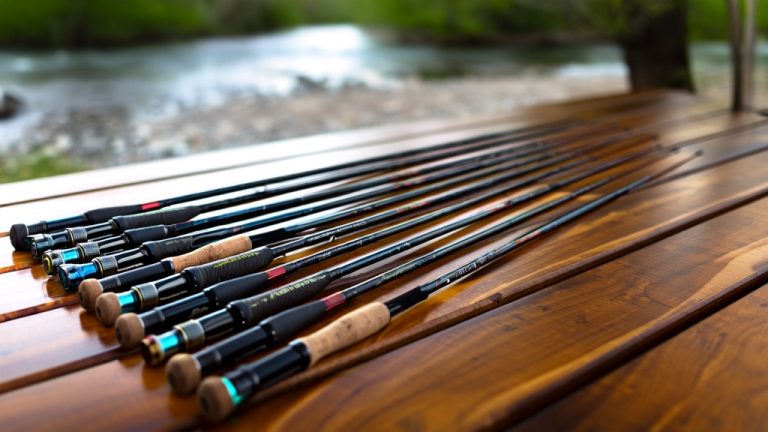
To make a fly rod, start by selecting a blank that suits your fishing style and the fish you’re targeting, considering weight and action.
Install a comfortable grip and corrosion-resistant reel seat, securing both with epoxy.
Position durable guides and a hook keeper precisely for balanced flex and line flow.
Wrap the guides tightly with thread, then apply thin epoxy coats while rotating the blank.
Finally, attach the tip top securely and add tasteful trim.
Following each step closely guarantees a durable, high-performance rod. Explore further for detailed techniques to perfect your build.
Key Takeaways
- Select a rod blank matching your fishing style, species, and desired rod weight and action for optimal performance.
- Choose and install a comfortable grip and corrosion-resistant reel seat, securing both with epoxy and allowing full curing.
- Pick durable guides with ceramic inserts, position them according to the blank’s spacing chart, and add a convenient hook keeper.
- Wrap guides tightly with waxed thread, secure ends, and apply thin epoxy coats while rotating the blank for a smooth finish.
- Attach the tip top securely with epoxy and thread wraps, add minimal decorative trim, and seal all wraps with a final epoxy coat.
Choose the Right Fly Rod Blank for Your Fishing Style
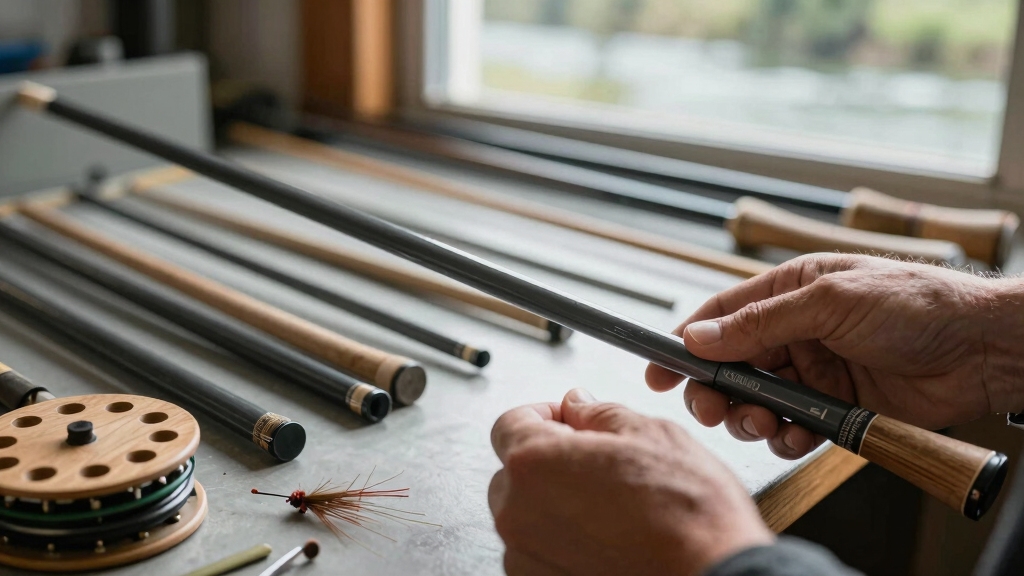
Start by selecting a rod blank that matches your fishing style and target species. This choice directly influences your rod’s performance.
Consider the rod weight carefully. Lighter weights suit delicate dry fly presentations, while heavier weights handle streamers or larger fish in big waters.
Pay attention to the rod’s action. Fast action blanks offer quick, powerful casts, ideal for long-distance or windy conditions. Slower action blanks provide more flex and forgiveness for delicate presentations.
Examine the blank’s material. Graphite offers stiffness and sensitivity, while fiberglass adds durability and smoothness. Boron fibers enhance strength without extra weight.
Also, check the layup patterns since unidirectional or angled fibers affect flexibility and durability. Choosing the right blank sets the foundation for a balanced, responsive fly rod tailored to your unique fishing needs.
Many premium rods, like those featuring Konnetic Technology, align graphite fibers precisely to enhance responsiveness and casting accuracy.
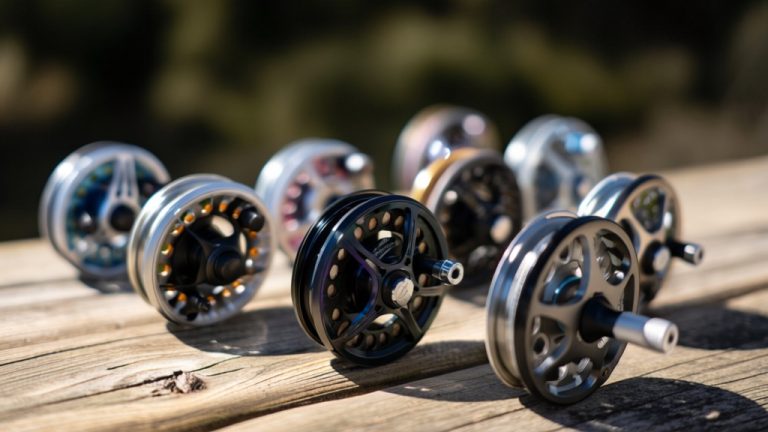
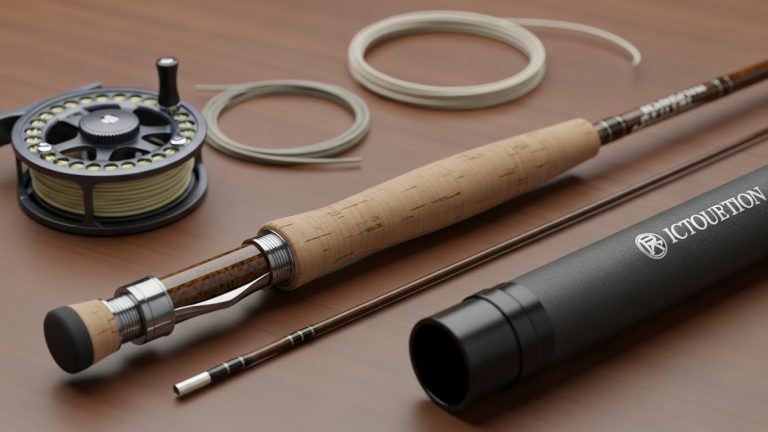
Select and Install Your Grip and Reel Seat
When you pick out your grip and reel seat, focus on matching their size and style to your rod blank and fishing preferences. Choose a grip type, such as cork rings, half Wells, or reverse half Wells, that feels comfortable and balances the rod.
Use a cork reamer to shape the grip precisely for a snug fit on the blank. For the reel seat, select a corrosion-resistant anodized aluminum or nickel silver model with burlwood inserts if you want added aesthetics. The seat’s threaded metal cylinder and locking ring must secure your reel firmly.
Slide the grip onto the blank, then position the reel seat flush against it, ensuring alignment with the rod’s handle axis. Secure both components with epoxy and allow full curing before proceeding to guides. Many high-quality rods feature ergonomic reconstituted cork grips that enhance comfort and control during fishing.
Pick and Position Guides and the Hook Keeper
Once your grip and reel seat are firmly set and cured, you can move on to selecting and positioning the guides and hook keeper.
Choose stainless steel snake guides with ceramic inserts to reduce line friction and Fuji components for durability.
Follow the guide spacing chart that comes with your blank; this guarantees peak casting performance and balanced flex.
Position the stripping guide near the reel seat to manage line flow, and space the snake guides evenly along the blank.
Don’t forget to install the hook keeper just above the grip for convenient fly storage during transport.
- Use the spacing chart for precise guide placement
- Start with the stripping guide near the reel seat
- Evenly space snake guides for balanced flex
- Select durable Fuji or stainless steel guides
- Mount hook keeper above the grip securely
Incorporating high-standard ceramic guides can significantly improve line movement and reduce tangles for smoother casts.
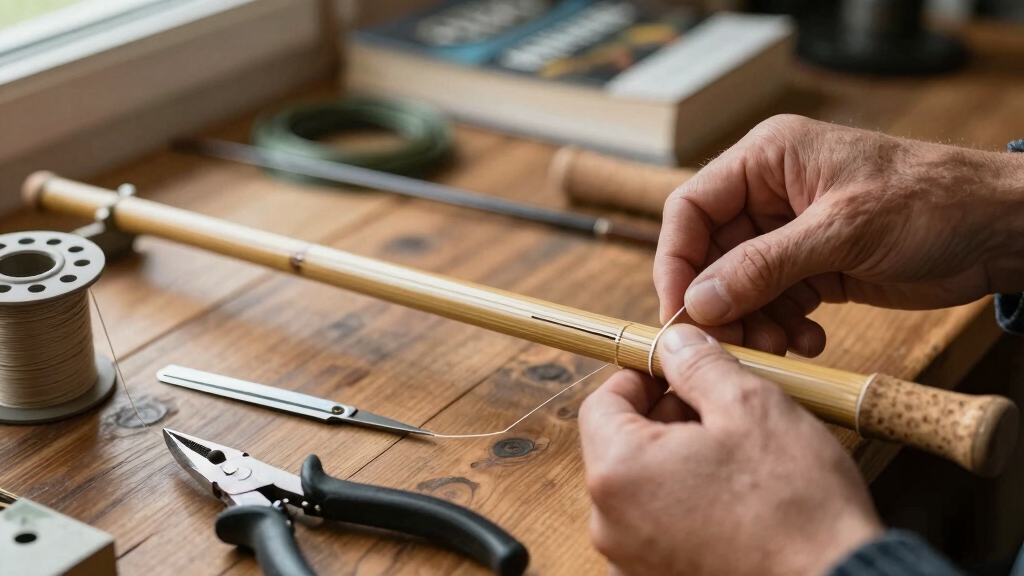
Wrap Guides With Thread and Apply Epoxy Finish
With your guides and hook keeper positioned precisely, you’ll want to secure them firmly by wrapping thread tightly around their feet.
Start with a clean, waxed nylon or polyester thread, anchoring it with several tight turns at the base.
Wrap evenly, overlapping slightly to completely cover the guide foot without gaps.
Maintain consistent tension to avoid loose wraps that could unravel later.
Once all guides are wrapped, trim thread ends cleanly and secure with a half hitch or a drop of head cement for added hold.
Next, apply a thin, even coat of epoxy finish using a small brush while rotating the blank slowly on a drying motor.
This guarantees smooth coverage without runs or bubbles, protecting the wraps and providing a durable, glossy finish essential for longevity.
For best results, mix the epoxy slowly for 3–4 minutes to minimize bubbles and extend working time, improving the quality of the epoxy application.
Attach the Tip Top and Add Decorative Trim
Securely attaching the tip top is essential for protecting your fly line as it exits the rod.
Properly securing the tip top safeguards your fly line during casting and enhances rod performance.
Begin by carefully sliding the tip top onto the rod’s tip section, ensuring it aligns perfectly with the rod’s taper. Use a thin coat of epoxy on the blank tip to hold it firmly.
Once positioned, wrap the base with fine thread wraps, maintaining tight, even tension to avoid gaps. After wrapping, cure the epoxy with a drying motor to lock the tip top in place.
For adding decorative trim, consider these steps:
Choose contrasting thread colors to highlight wraps. Apply wraps evenly around the blank near the tip. Use metallic or pearlized threads for visual appeal.
Keep trim minimal to avoid weight increase. Seal wraps with a final epoxy coat for durability.
Regularly inspect, clean, and apply protective coatings to maintain the rod’s longevity and performance.
Use Essential Tools for a Smooth Fly Rod Build
Mastering the essential tools for fly rod building lets you achieve precise, professional results with less frustration. You’ll rely on a rod wrapping tool to apply thread wraps evenly, a drying motor to cure epoxy uniformly, and cork reamers to shape grips accurately. Using these guarantees each component fits perfectly and the finish is flawless.
| Tool | Purpose | Benefit |
|---|---|---|
| Rod Wrapping Tool | Even thread application | Prevents loose or uneven wraps |
| Drying Motor | Slow blank rotation | Guarantees smooth, bubble-free epoxy finish |
| Cork Reamer Set | Grip shaping | Creates comfortable, precise grips |
Selecting components with CNC-machined aluminum construction can enhance the durability and precision of your fly rod build.
Frequently Asked Questions
How Do I Properly Store and Maintain My Finished Fly Rod?
You should store your finished fly rod in a cool, dry place away from direct sunlight to prevent damage to the blank and epoxy finish.
Always clean your rod with fresh water after use, especially after saltwater fishing, and dry it thoroughly.
Loosen the reel seat and remove the reel to avoid corrosion.
Use a rod sock or tube for protection during transport and avoid leaning it against hard surfaces to maintain its alignment and integrity.
What Are Common Mistakes to Avoid When Building a Fly Rod?
Avoid rushing epoxy curing or applying too thick a coat, as it leads to uneven finishes and weak wraps.
Don’t misplace guides; always follow the spacing chart precisely to maintain balance and action.
Avoid using low-quality thread or skipping scrim, which weakens durability.
Don’t neglect grip shaping; poorly fitted grips cause discomfort.
Finally, don’t forget to rotate the blank during epoxy drying to prevent drips and guarantee a smooth, even finish throughout.
How Long Does It Typically Take to Complete a Fly Rod Build?
You might think building a fly rod takes forever, but typically, it takes around 6 to 12 hours spread over a few days.
You’ll spend time carefully wrapping guides, curing epoxy on a drying motor, and shaping grips precisely.
Don’t rush; each step demands patience and attention to detail.
Planning your workflow, like prepping components and referencing your guide spacing chart, helps you avoid mistakes and guarantees a strong, perfectly balanced rod in the end.
Can I Customize the Rod Blank’s Action After Assembly?
You can’t really customize the rod blank’s action after assembly because the blank’s flex, stiffness, and responsiveness are set by its material layup and design.
However, you can influence feel slightly by adjusting components like grip weight or line weight.
These tweaks won’t dramatically change the rod’s inherent action.
If you want a different action, it’s best to select a blank with the desired characteristics before building your rod.
What Are the Best Brands for Fly Rod Components and Materials?
You’ll want to start with Montana Casting Co. for premium rod blanks.
They offer superb graphite and hybrid materials.
For guides and hardware, Fuji’s components are unbeatable due to their durability and smooth ceramic inserts.
When it comes to reel seats and grips, you can’t go wrong with anodized aluminum seats and high-grade cork from trusted suppliers.
These brands provide quality materials and reliable consistency, helping you build a rod that performs and lasts.
Crafted by You, Ready for the Perfect Catch
Now that you’ve carefully chosen your blank, installed your grip and reel seat, and wrapped your guides with precision, you’re ready to cast like a pro.
Building your own fly rod isn’t just about putting parts together. It’s about crafting a tool that feels like an extension of your arm.
With patience and attention to detail, you’re well on your way to landing the big one. Remember, every masterpiece starts with a single step.